Features · Unified Map
See where the light falls, before you drive two hours
One map, four ways of reading it. Day for the sun, Night for the moon and the galactic core, Target to solve for a geometry you have in mind, and Drone for what the aircraft will see. Everything is drawn over real terrain and tied to the gear you actually own.
FREEComing to Android
The sun, at any minute of the day
Knowing sunset is at 21:19 tells you almost nothing about the photograph. What matters is where the sun will be standing when it happens, and what that does to your scene.
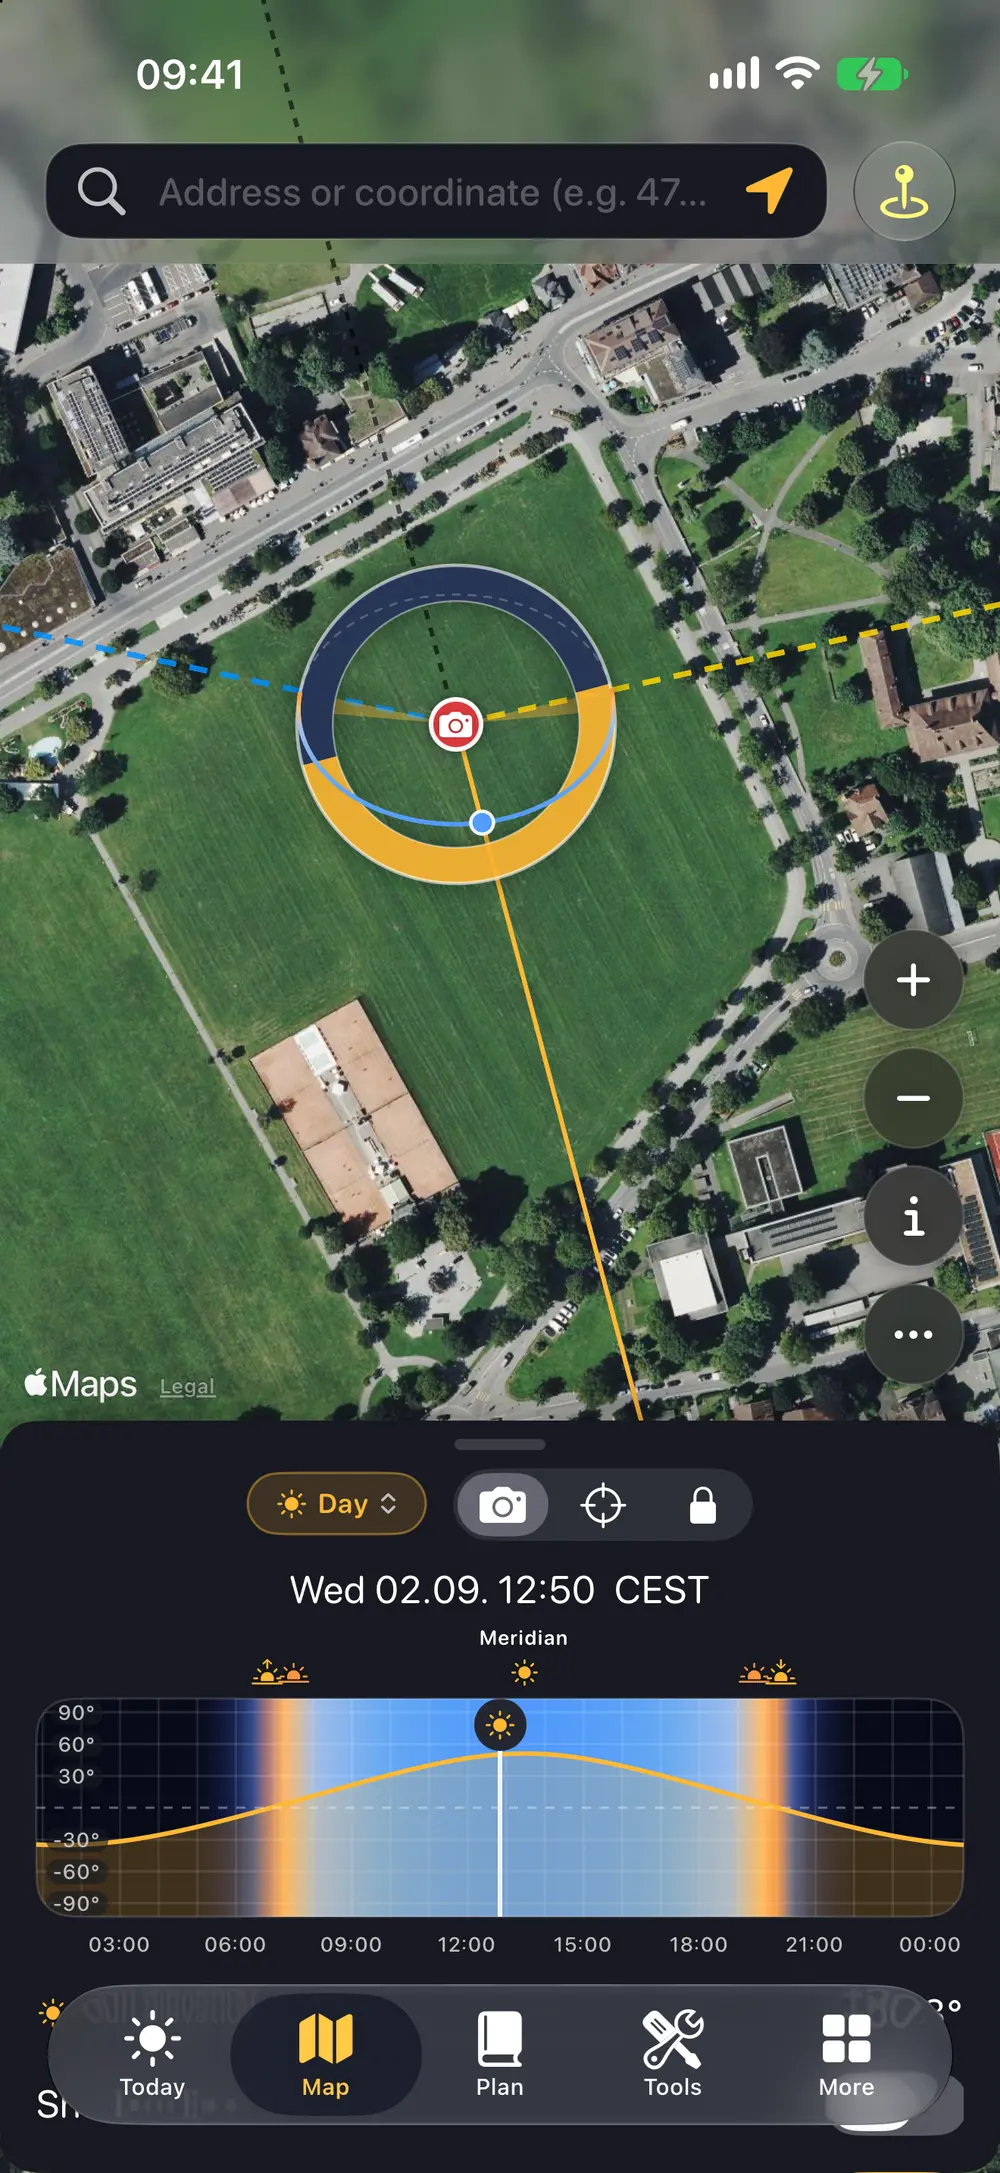
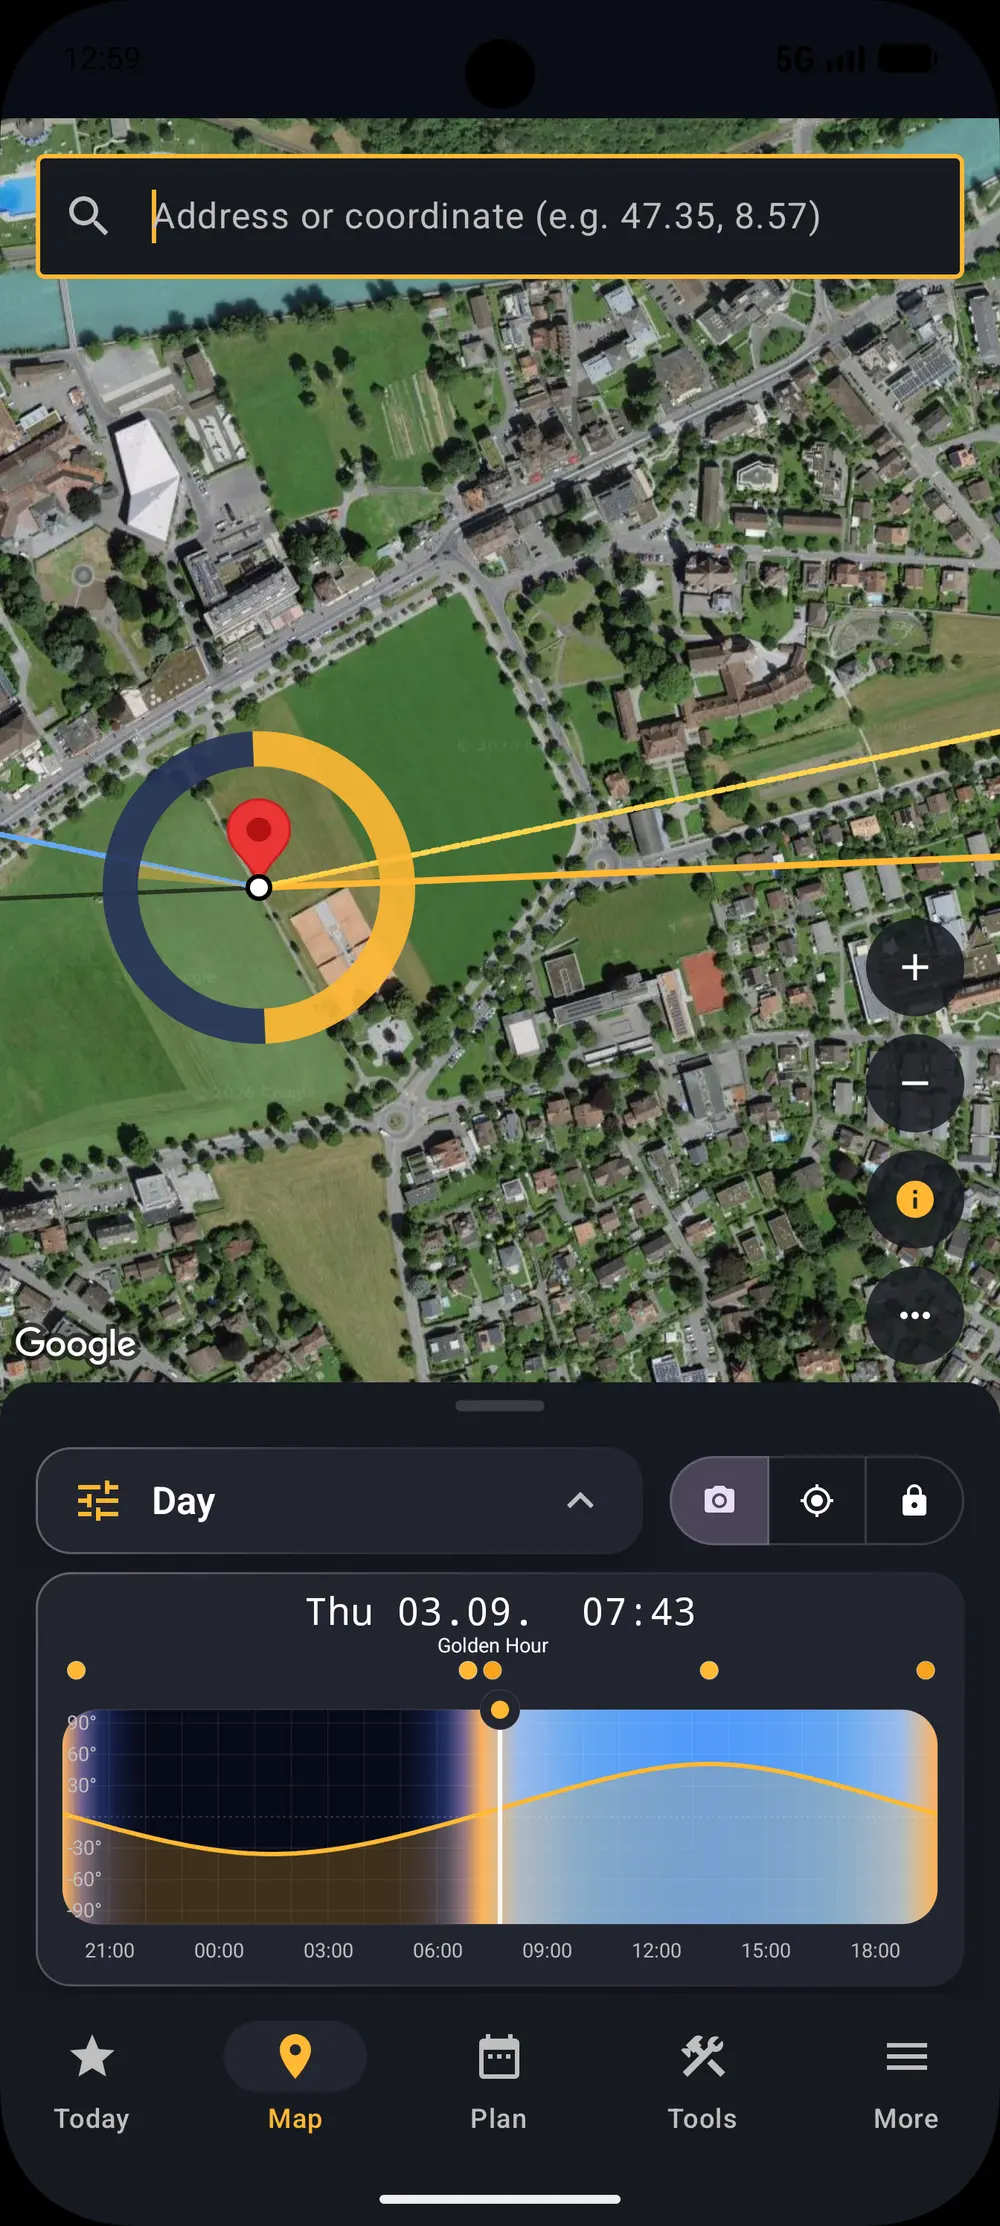
Scrub to any time and the map shows the sun direction for that moment. Then choose the overlay that answers your question: sunrise and sunset direction lines, the golden hour cones, the full sun path across the day, or the sun and shadow circle that shows which side of your subject will be lit.
They stack the way you think about a location, so you can stand at the pin in your head and turn the day around it.
iOS
Android
Will the sun actually reach it?
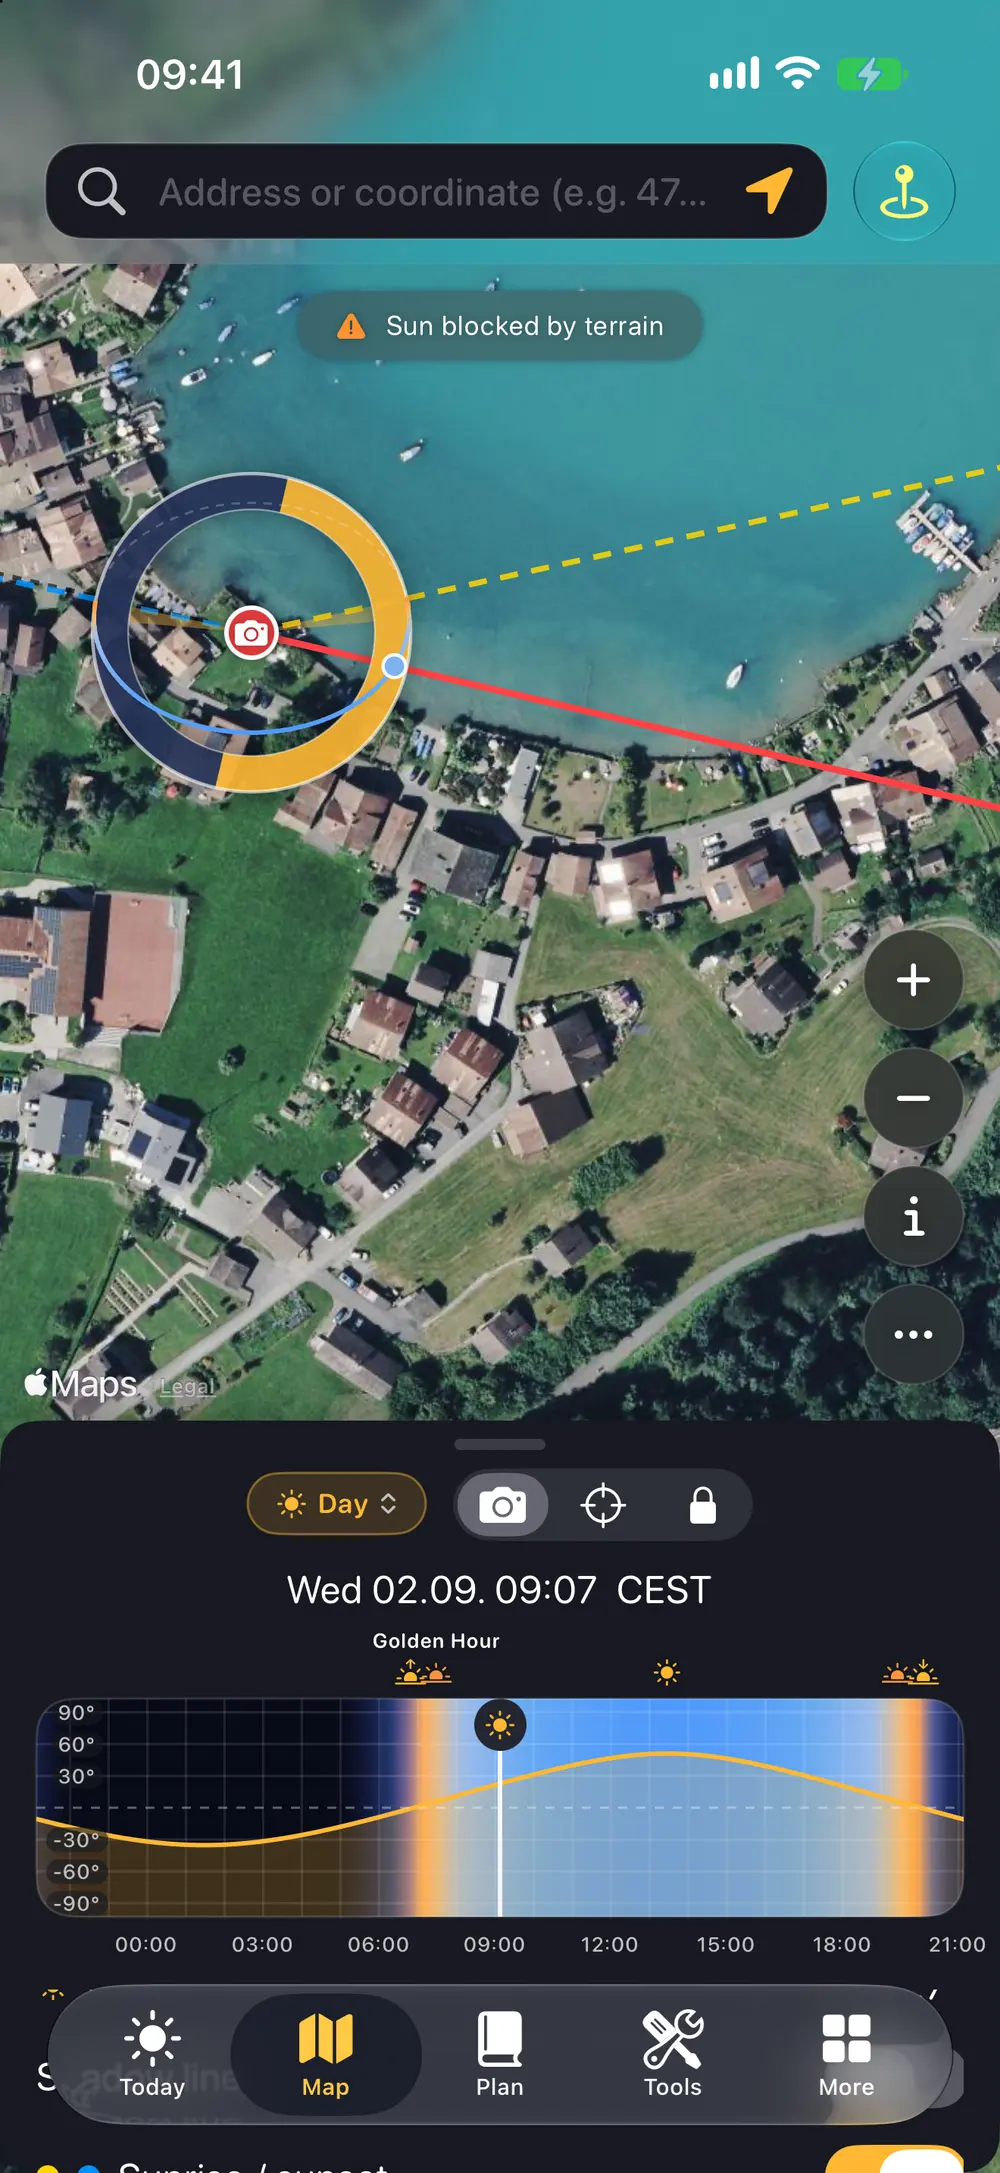
The almanac says sunrise at 06:12. The mountain to the east says 08:40. Every flat sun calculator gives you the first number, which is why photographers still arrive in the dark and wait, or skip a valley that would have been lit an hour later.
Sun reach checks the real terrain between your subject and the sun and tells you when the light actually clears the ridge. You get the moment the sun arrives at that spot, not the moment it rises somewhere over the horizon.
For a portrait it decides whether the face is lit or in shade. For a landscape it decides whether the drive is worth it at all.
iOS
Android
Every sun number on one screen
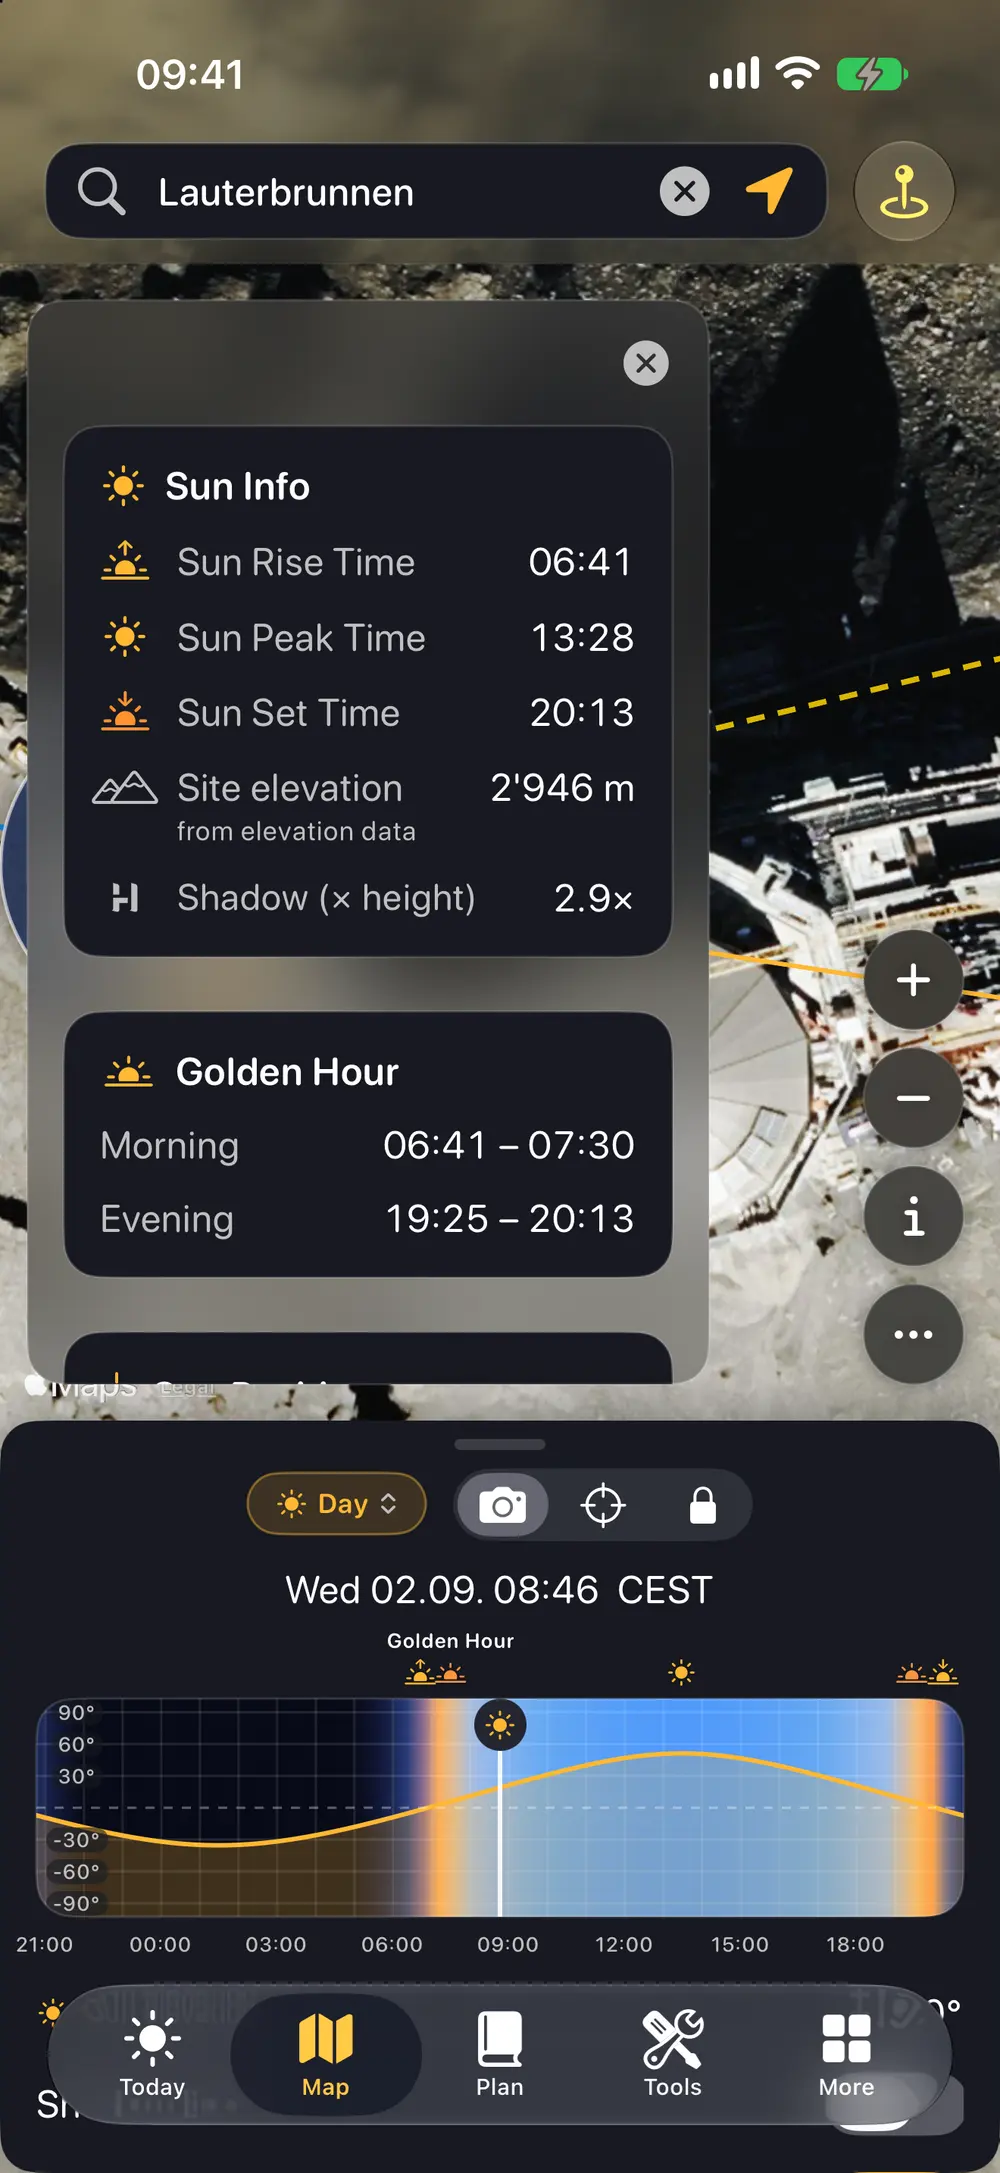
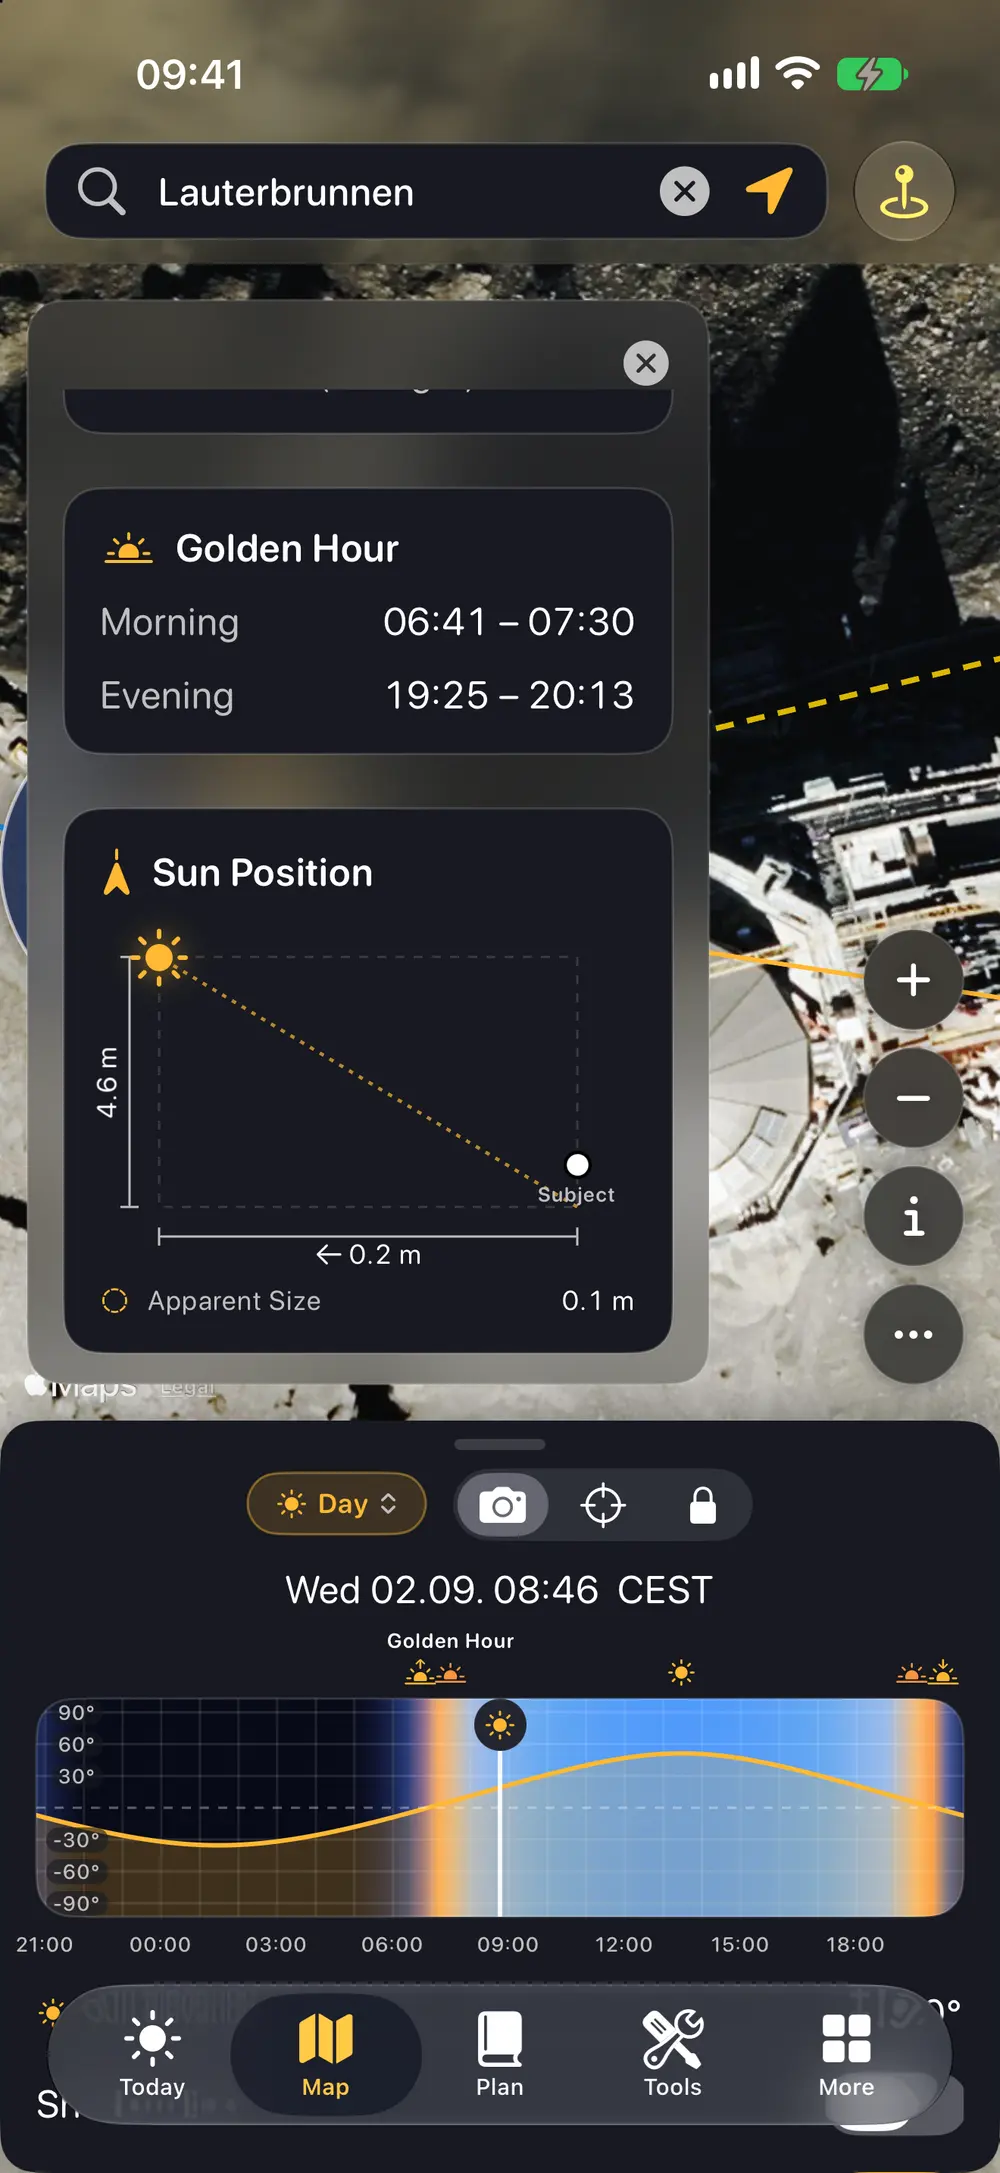
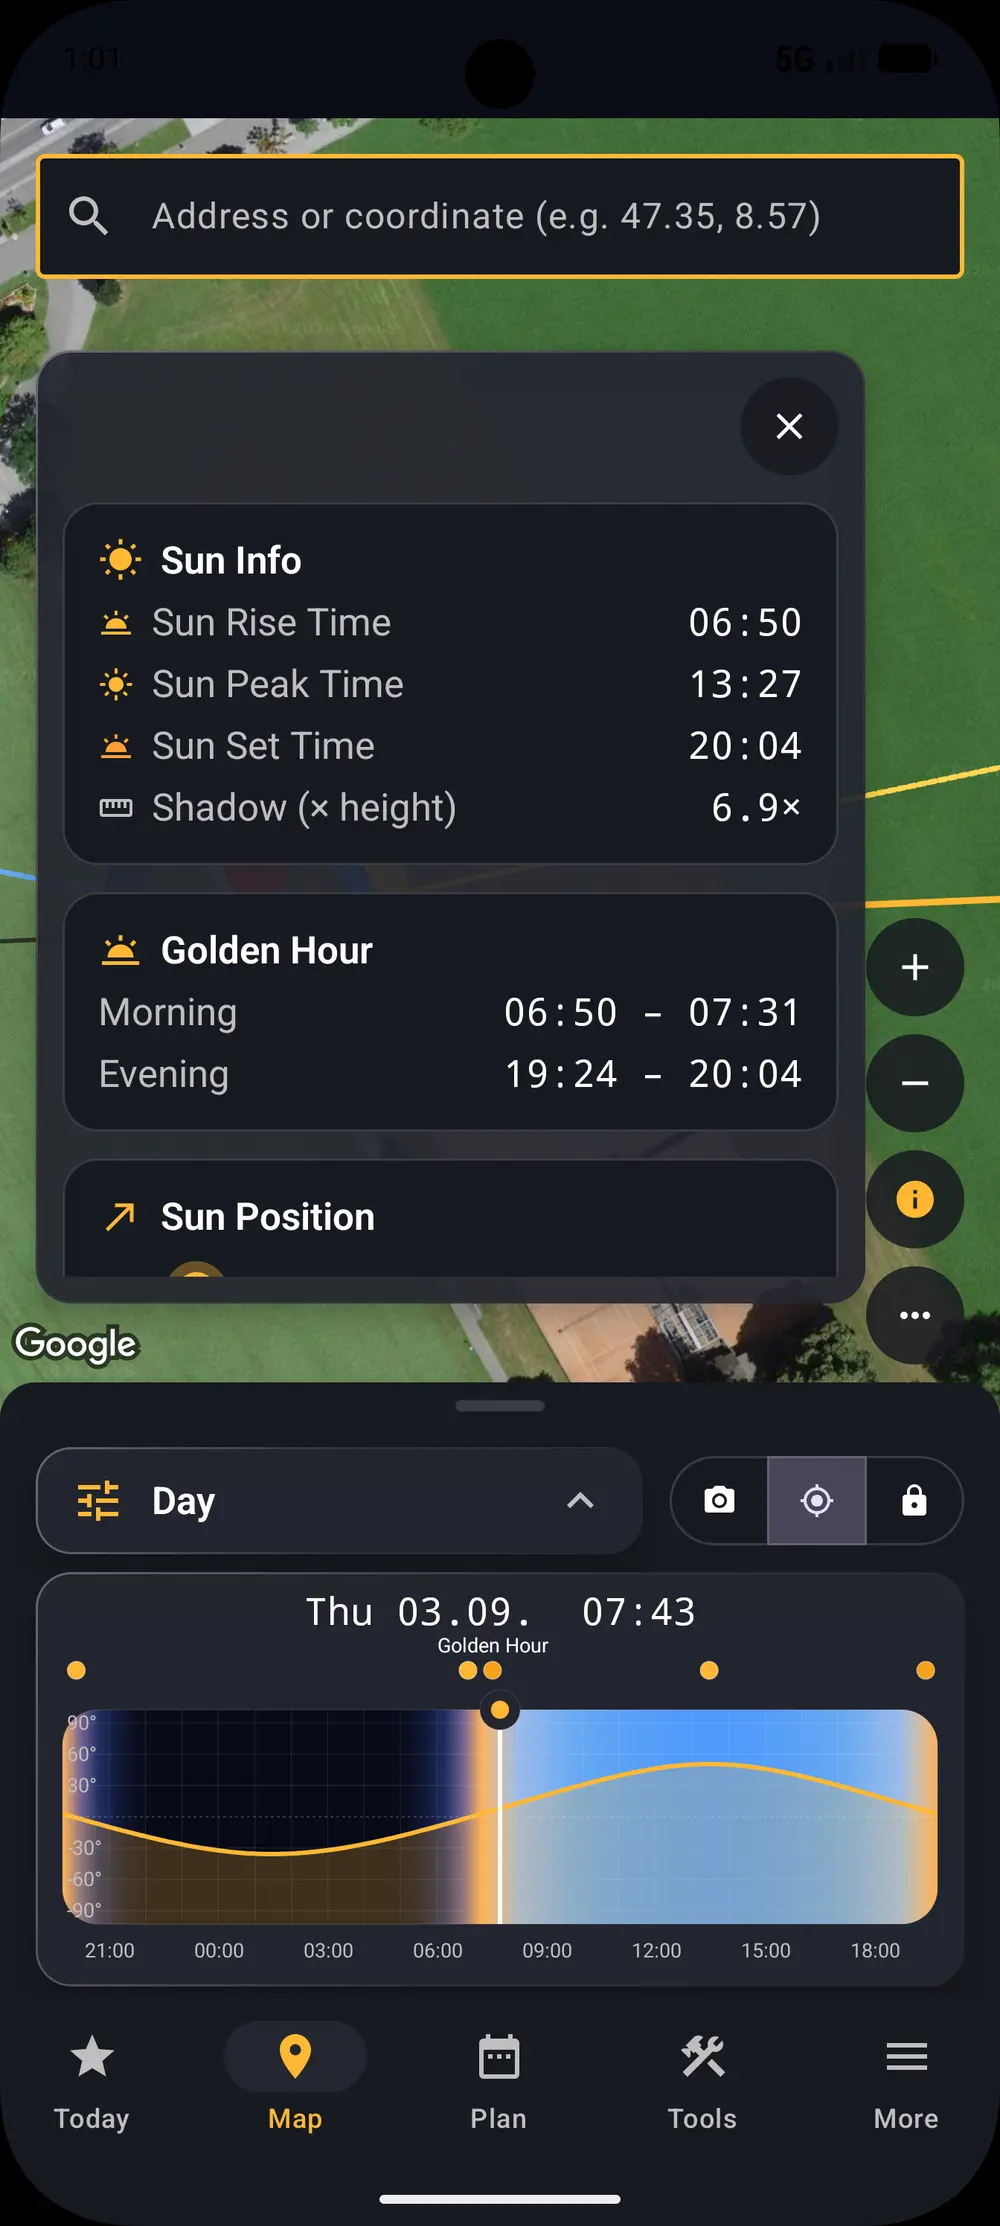
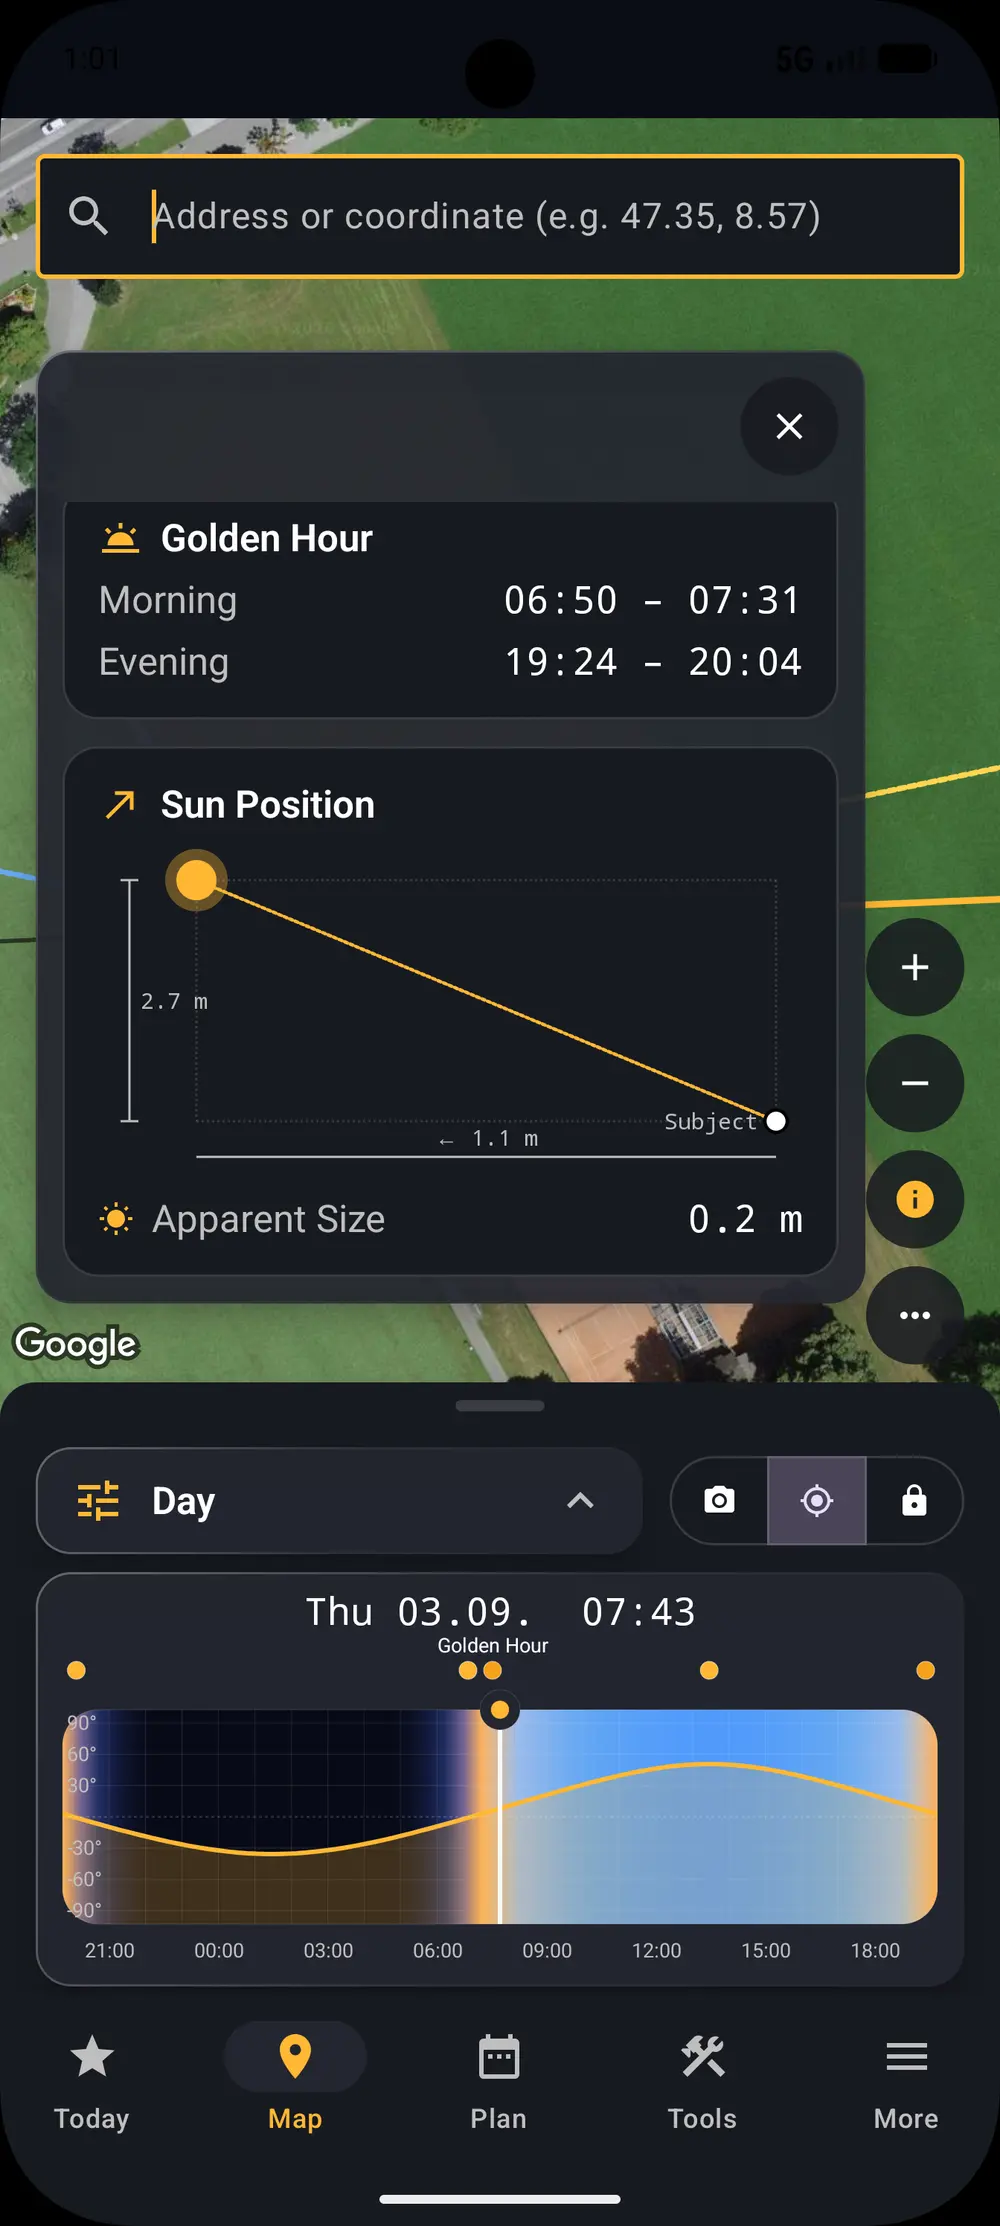
Open the sun panel and the day is laid out in numbers rather than guesswork: sunrise, solar noon and sunset, the elevation of the sun right now, and the length of the shadow it is casting at the time you selected.
Site elevation is there too, along with the relative position and apparent size of the sun, which is what you need when you are planning to place it behind a peak or inside an arch.
iOS
Android
Night mode, built for the dark
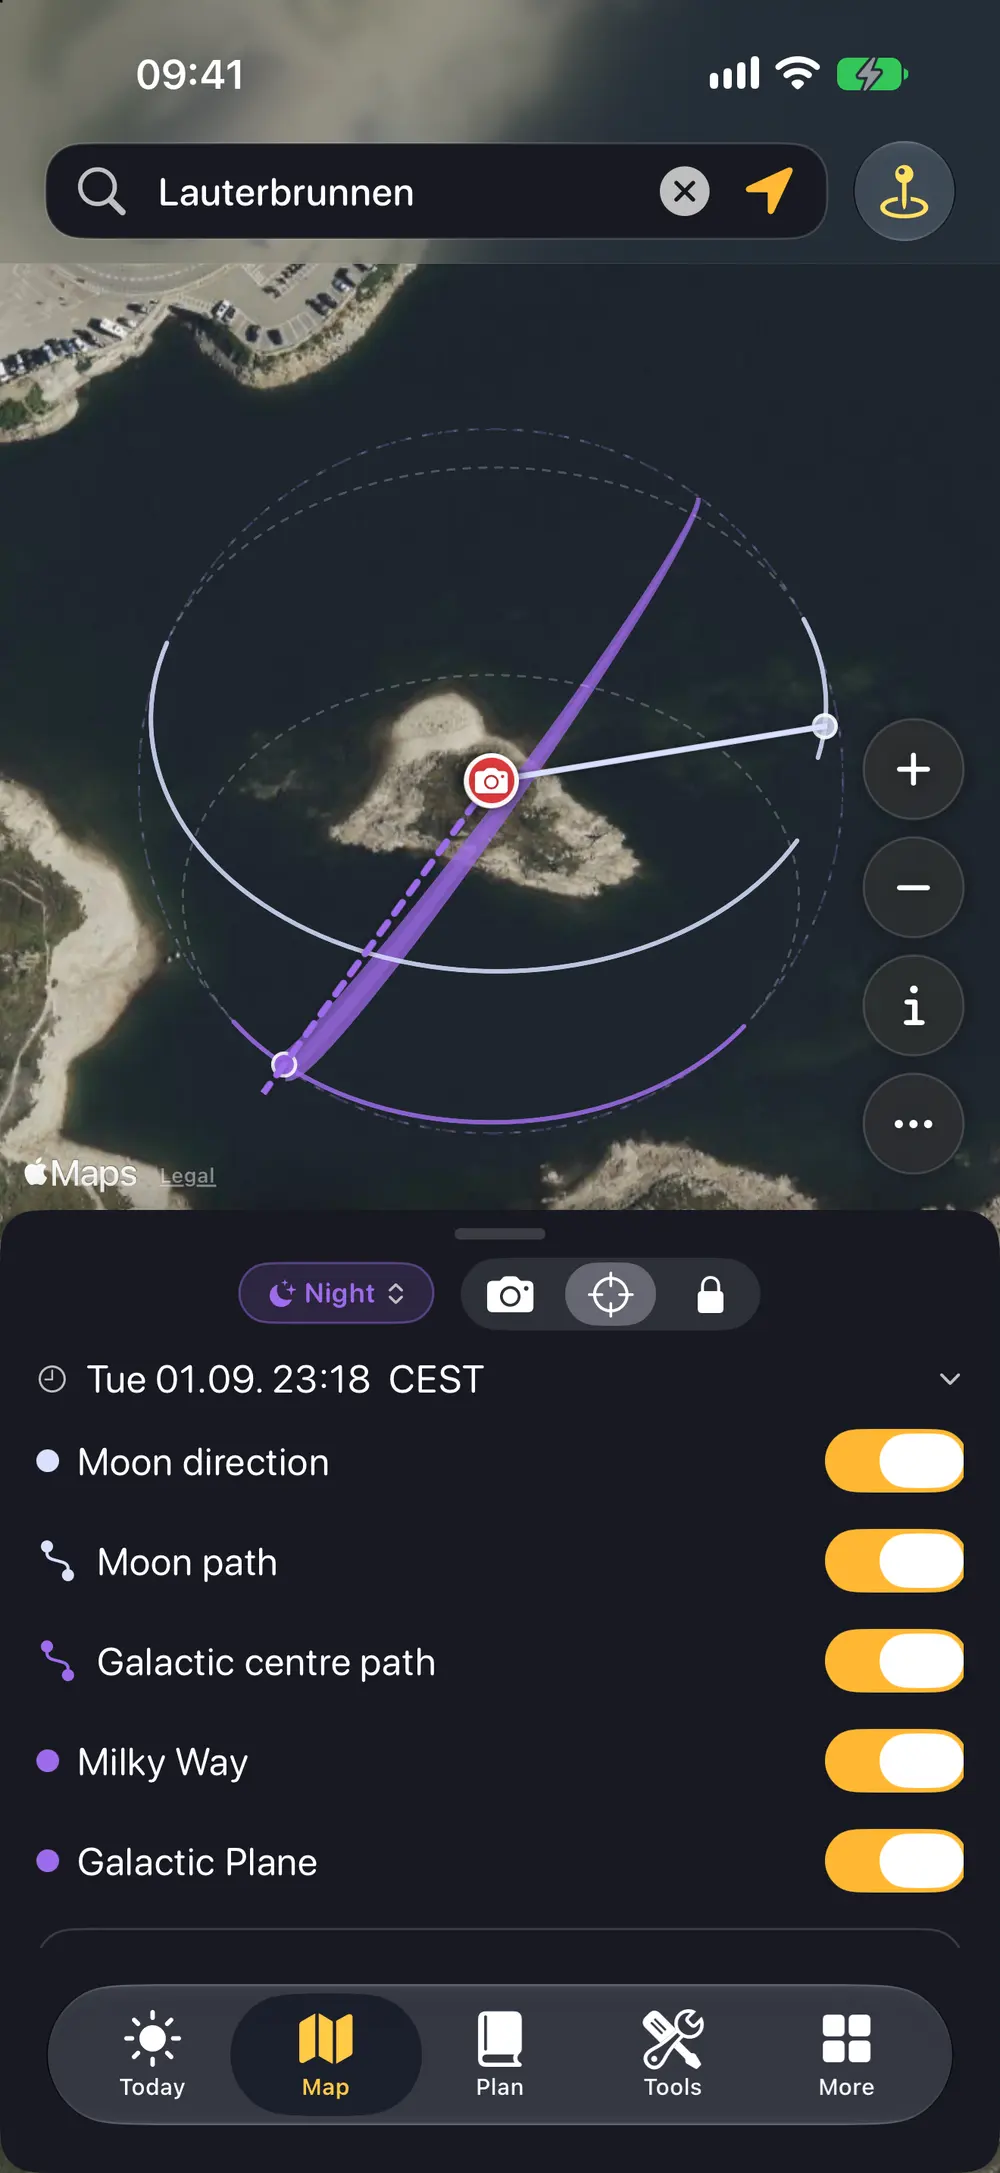
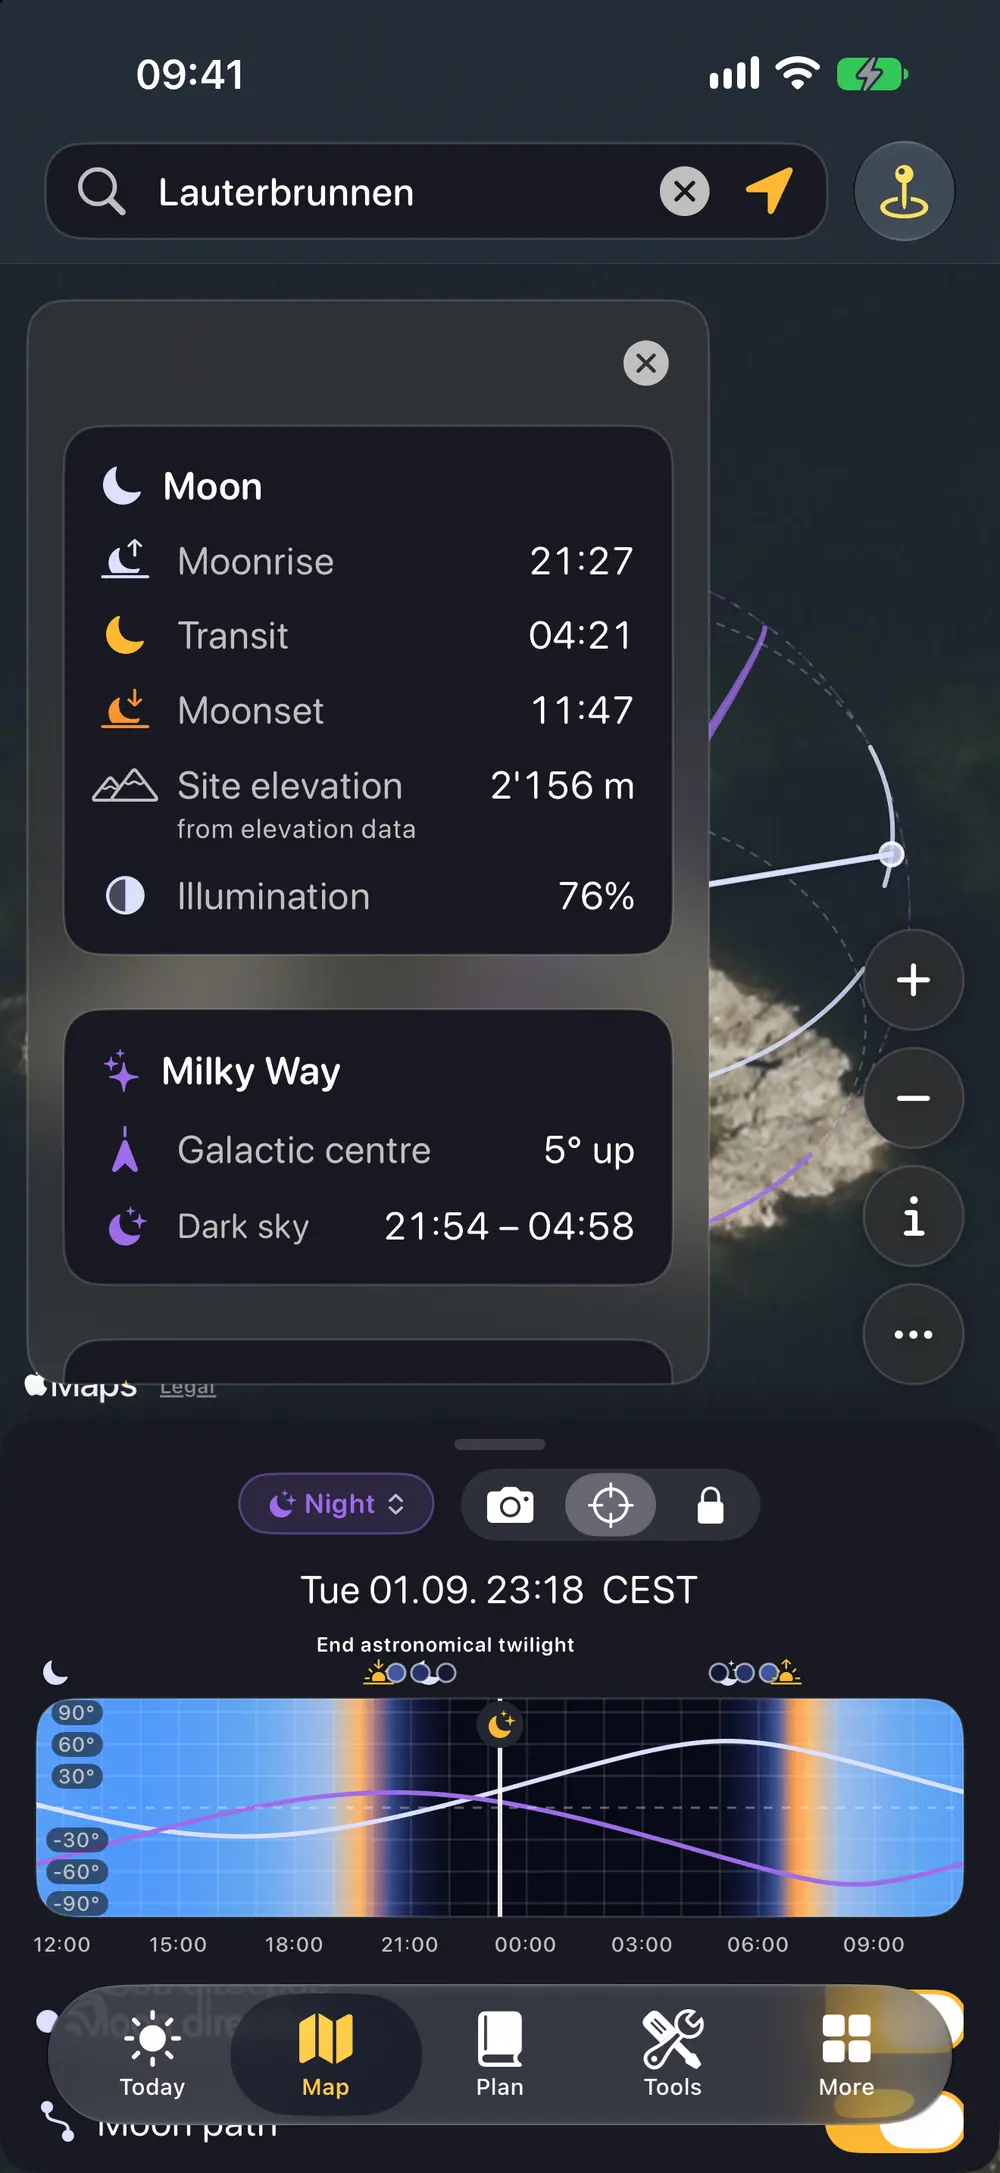
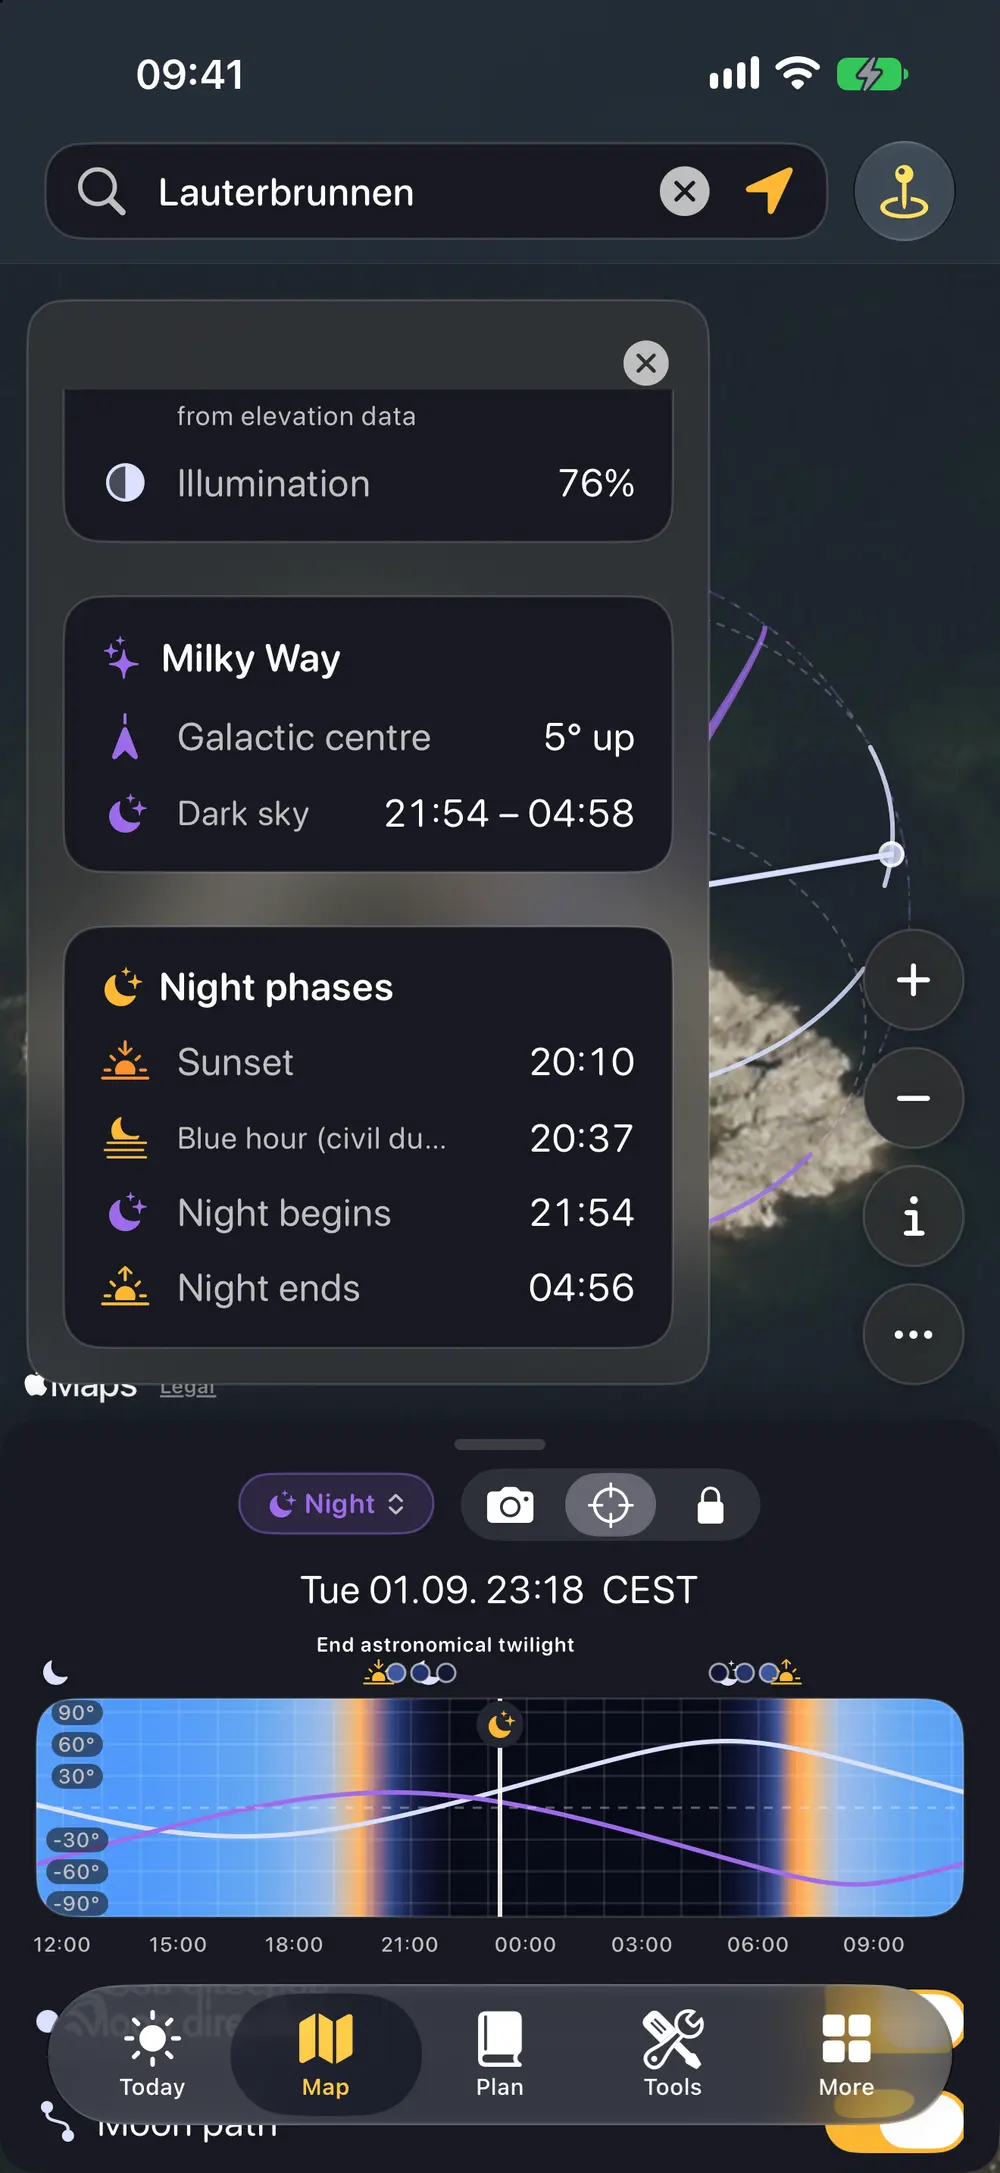
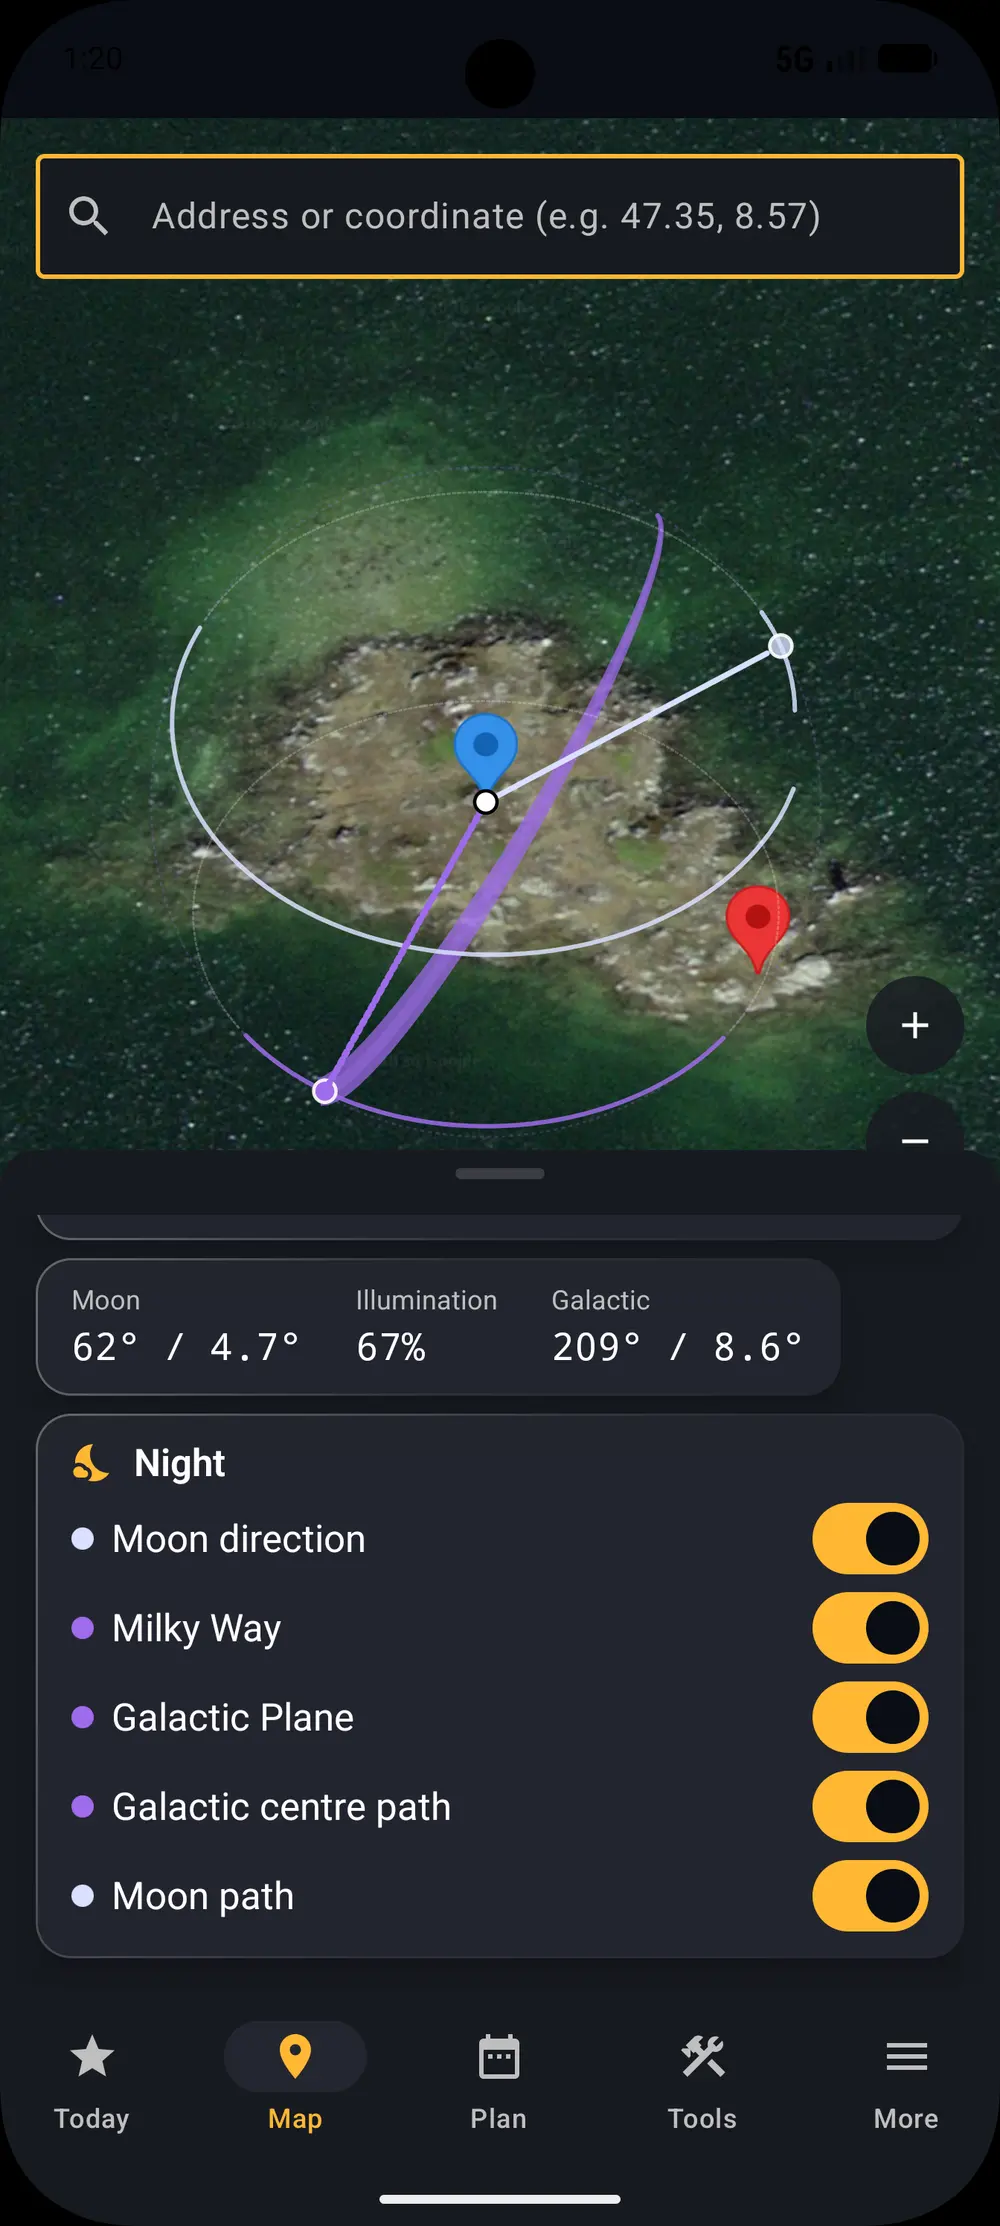
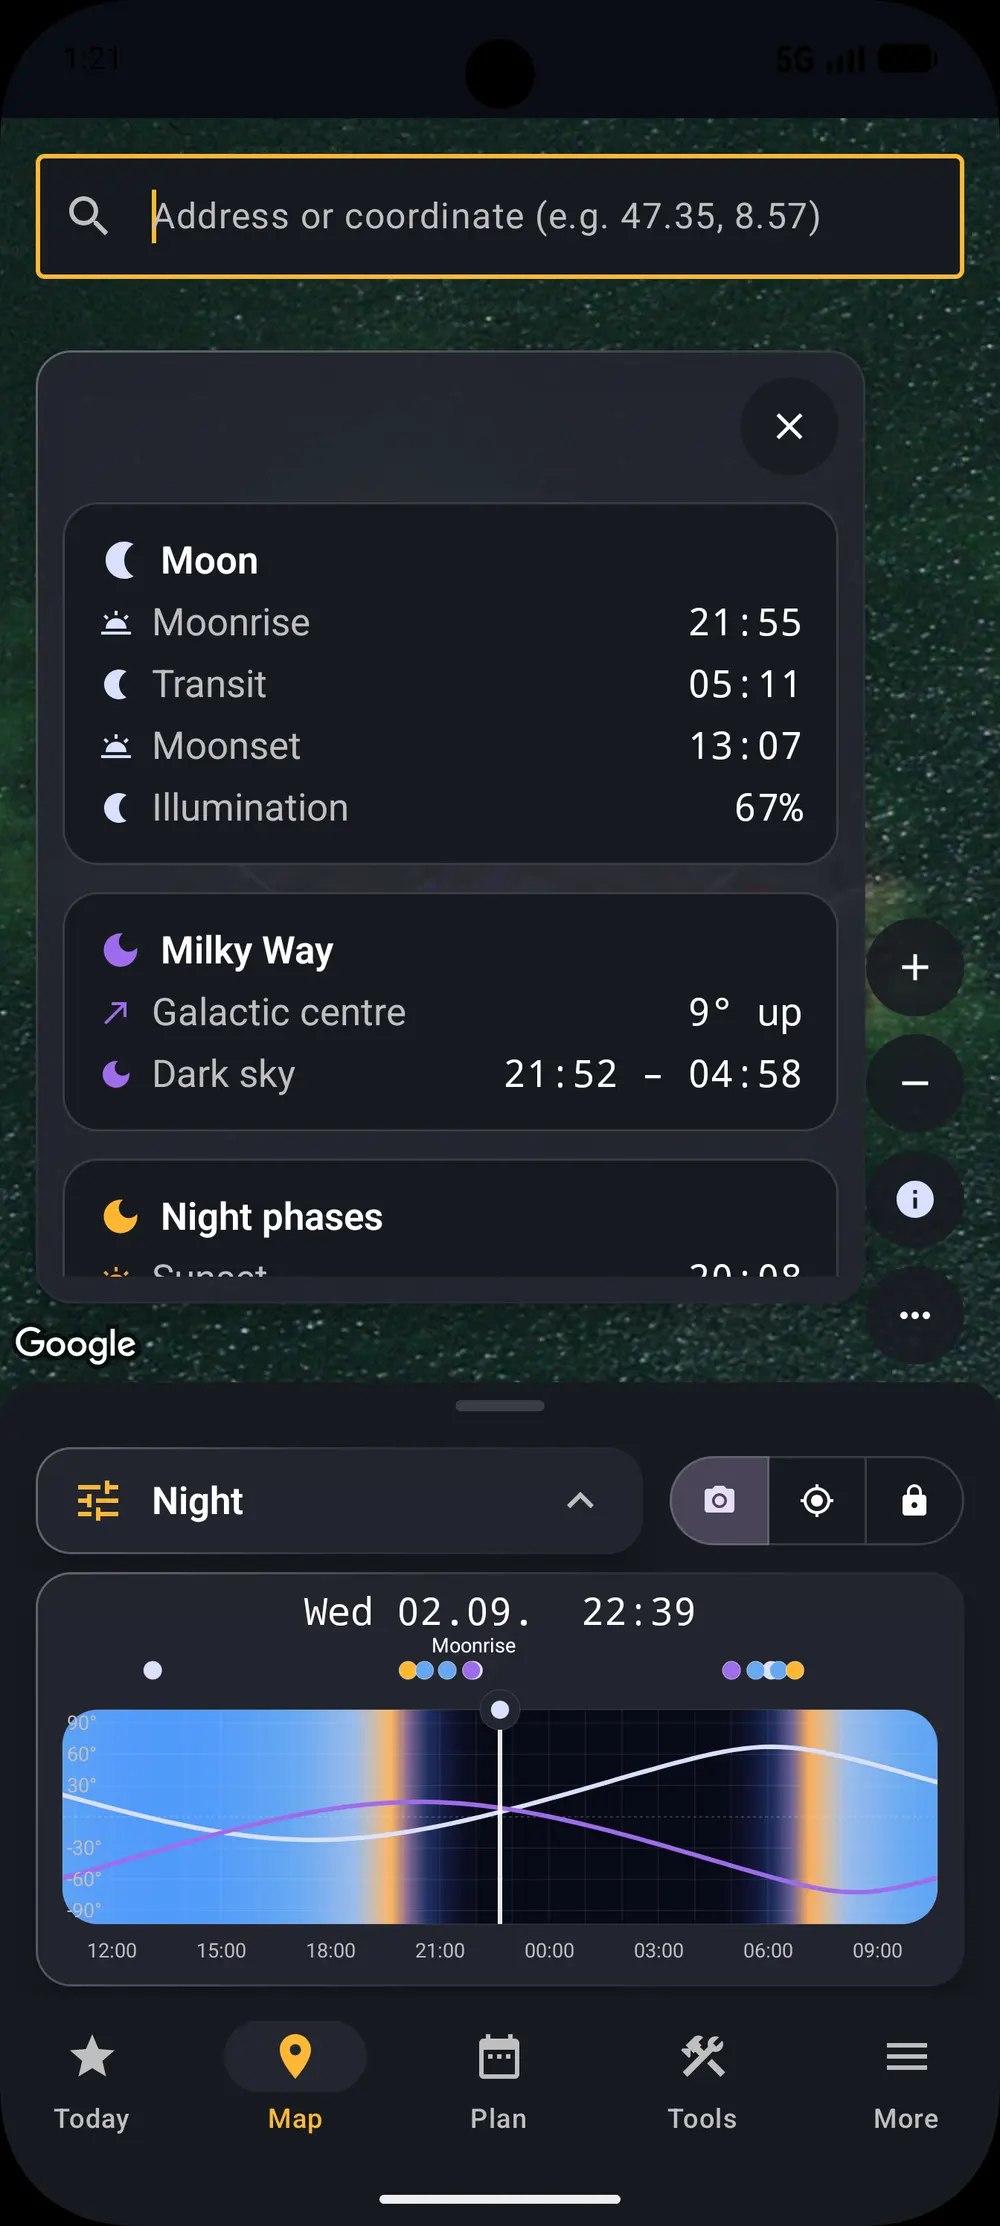
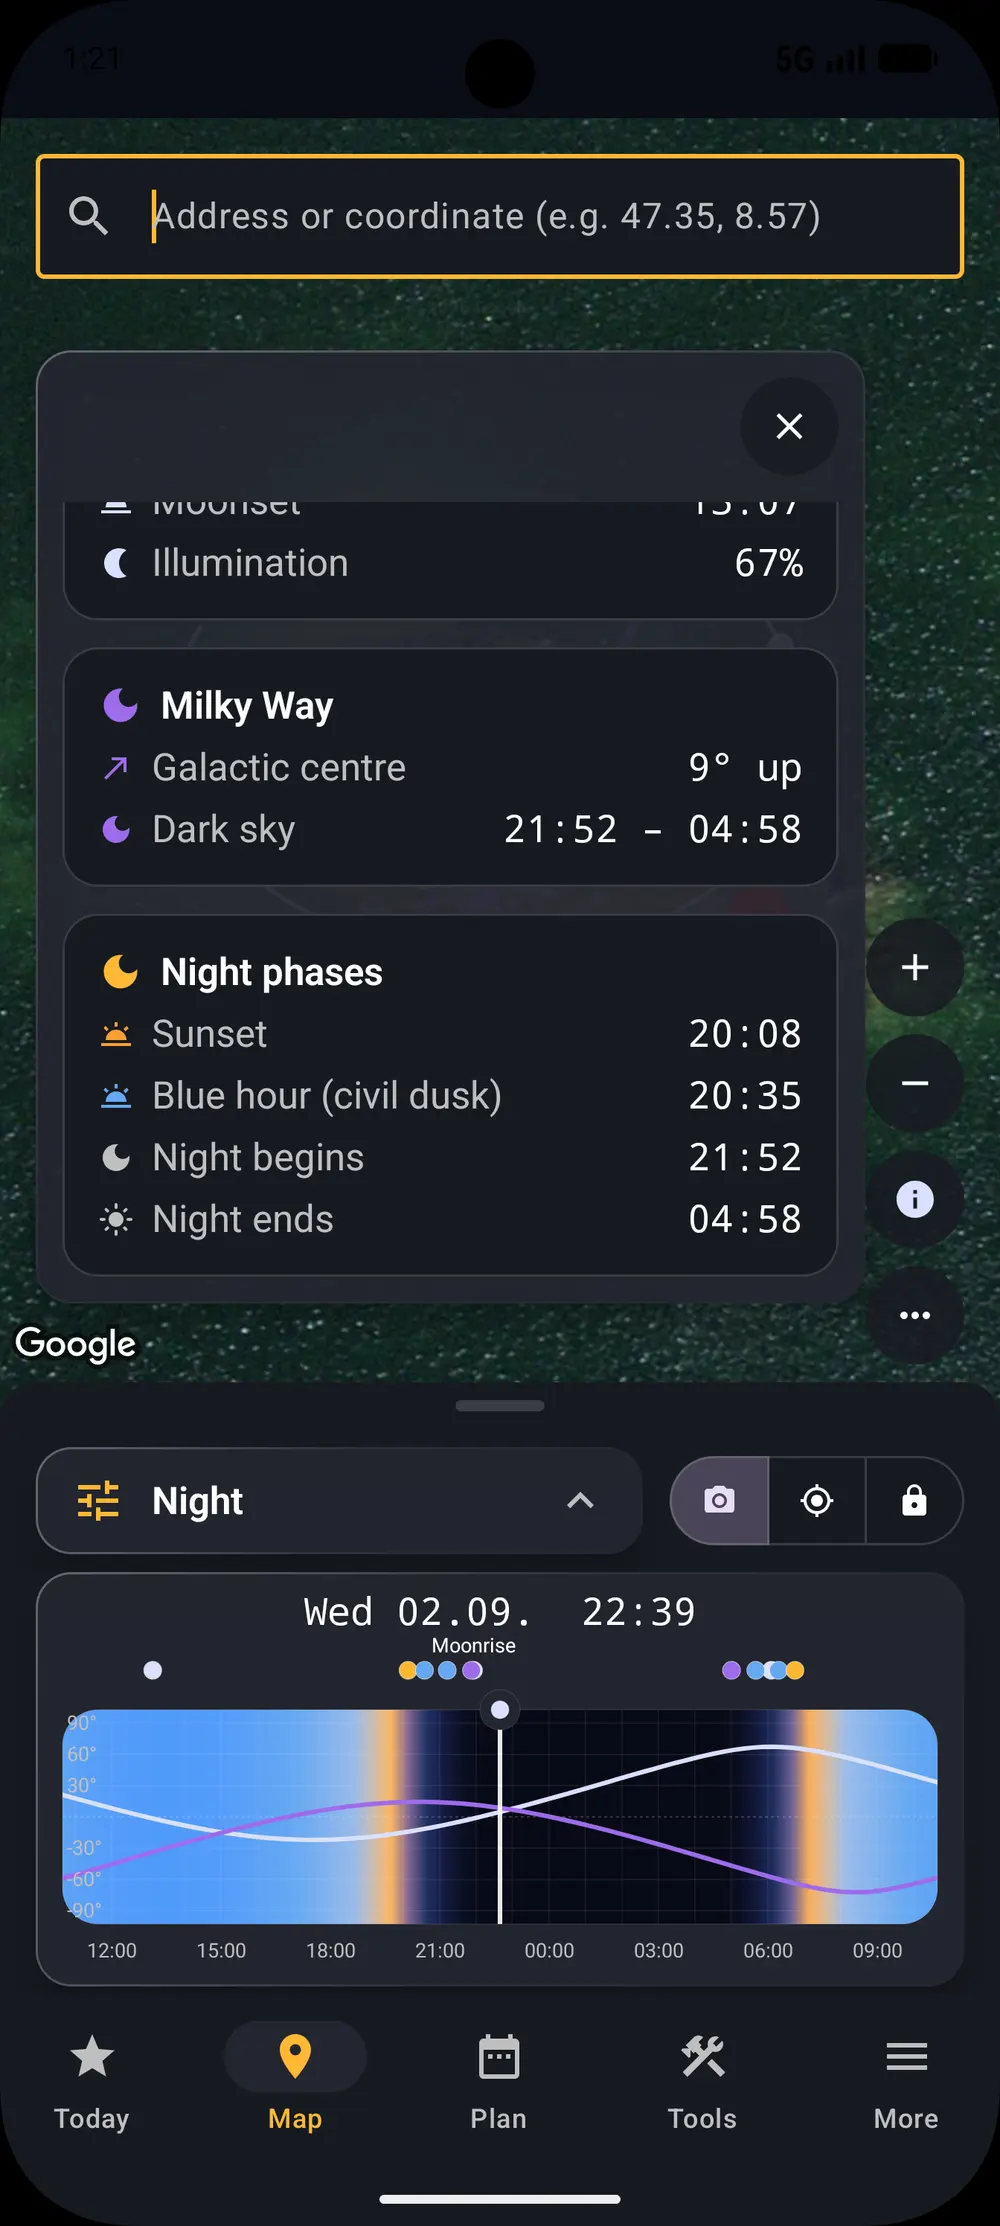
Switch to Night and every reading changes to the things that matter after dusk. The galactic plane is projected onto the map so you can see how the band will lie across your scene, with the direction and elevation of the galactic core called out.
The moon gets the same treatment, because on most nights the moon is the thing that decides whether the shot is possible. You get moonrise, transit, moonset and illumination, plus the core elevation and the night phases, so you can find the window where the sky is dark and the core is high enough to matter.
iOS
Android
Which lens covers it
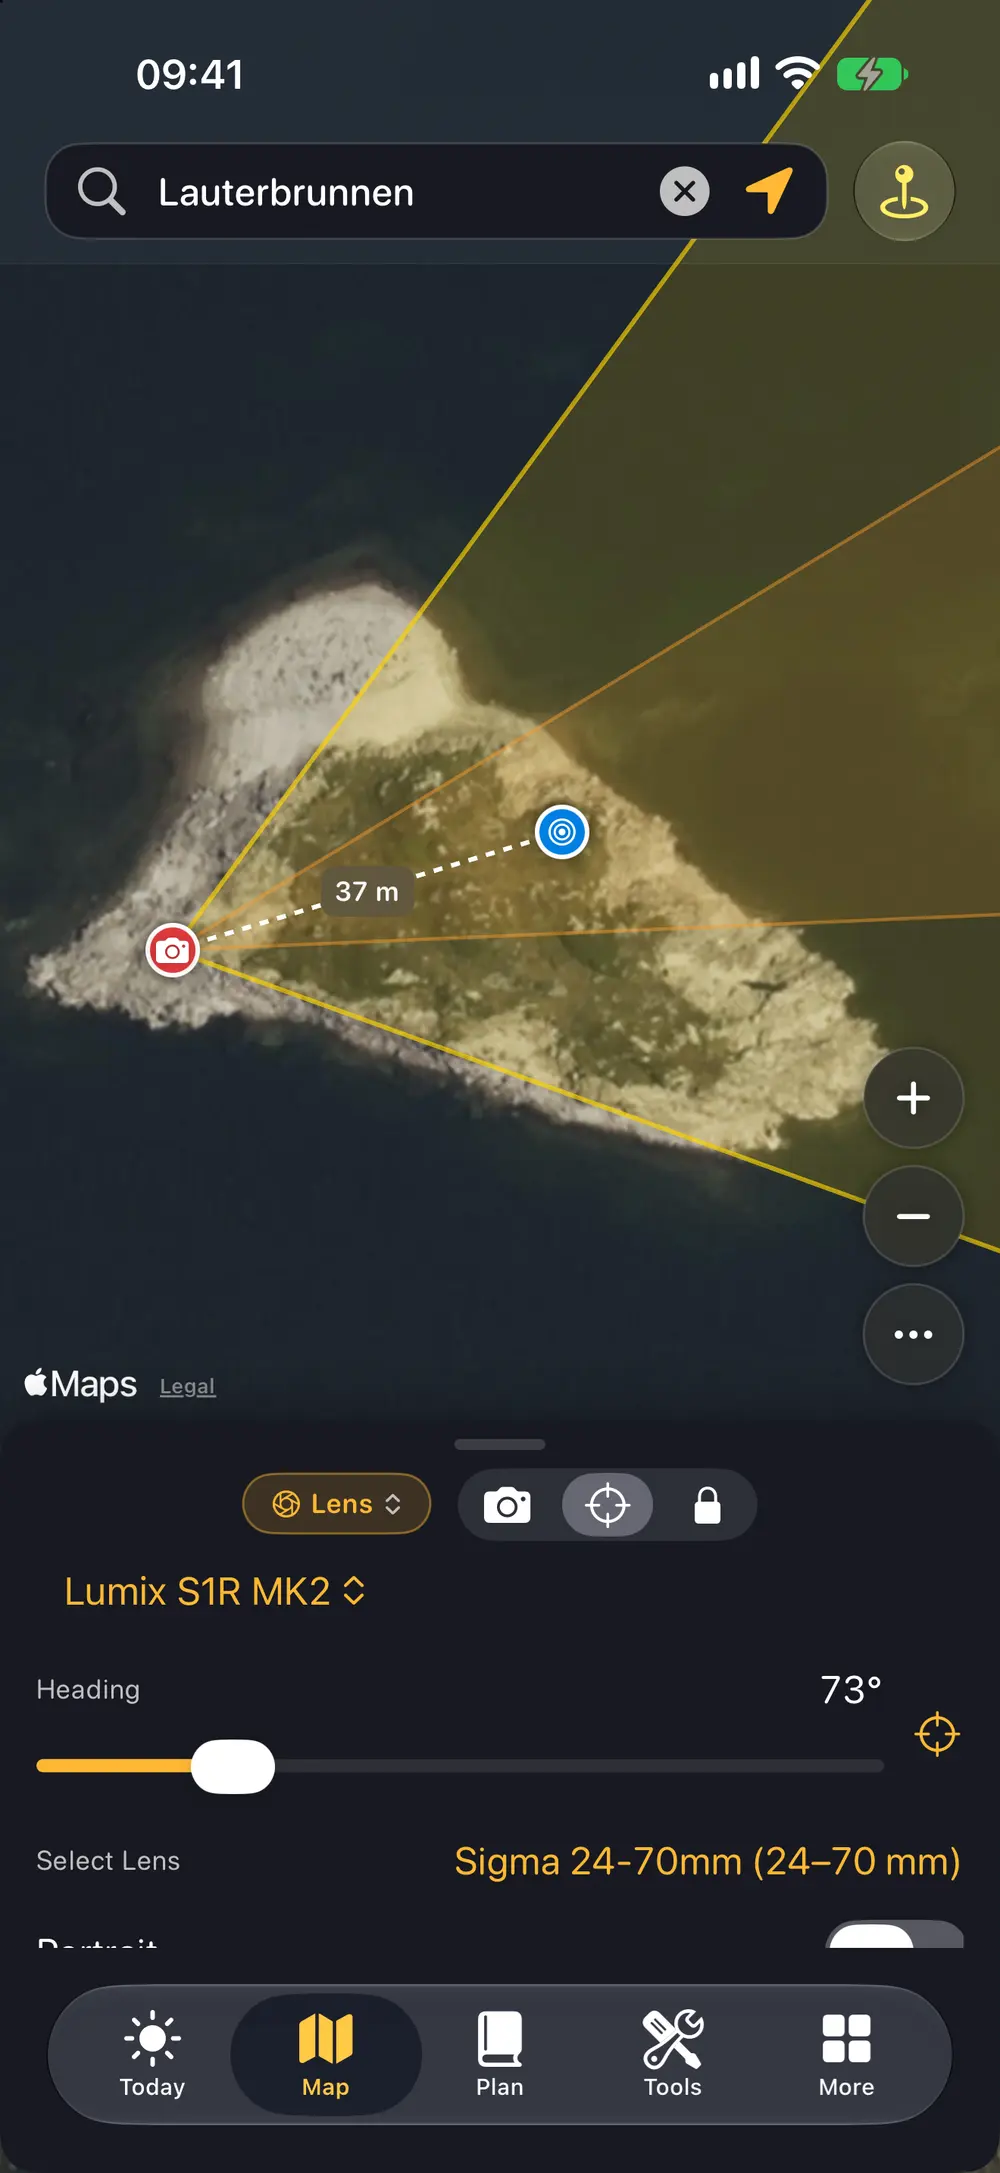
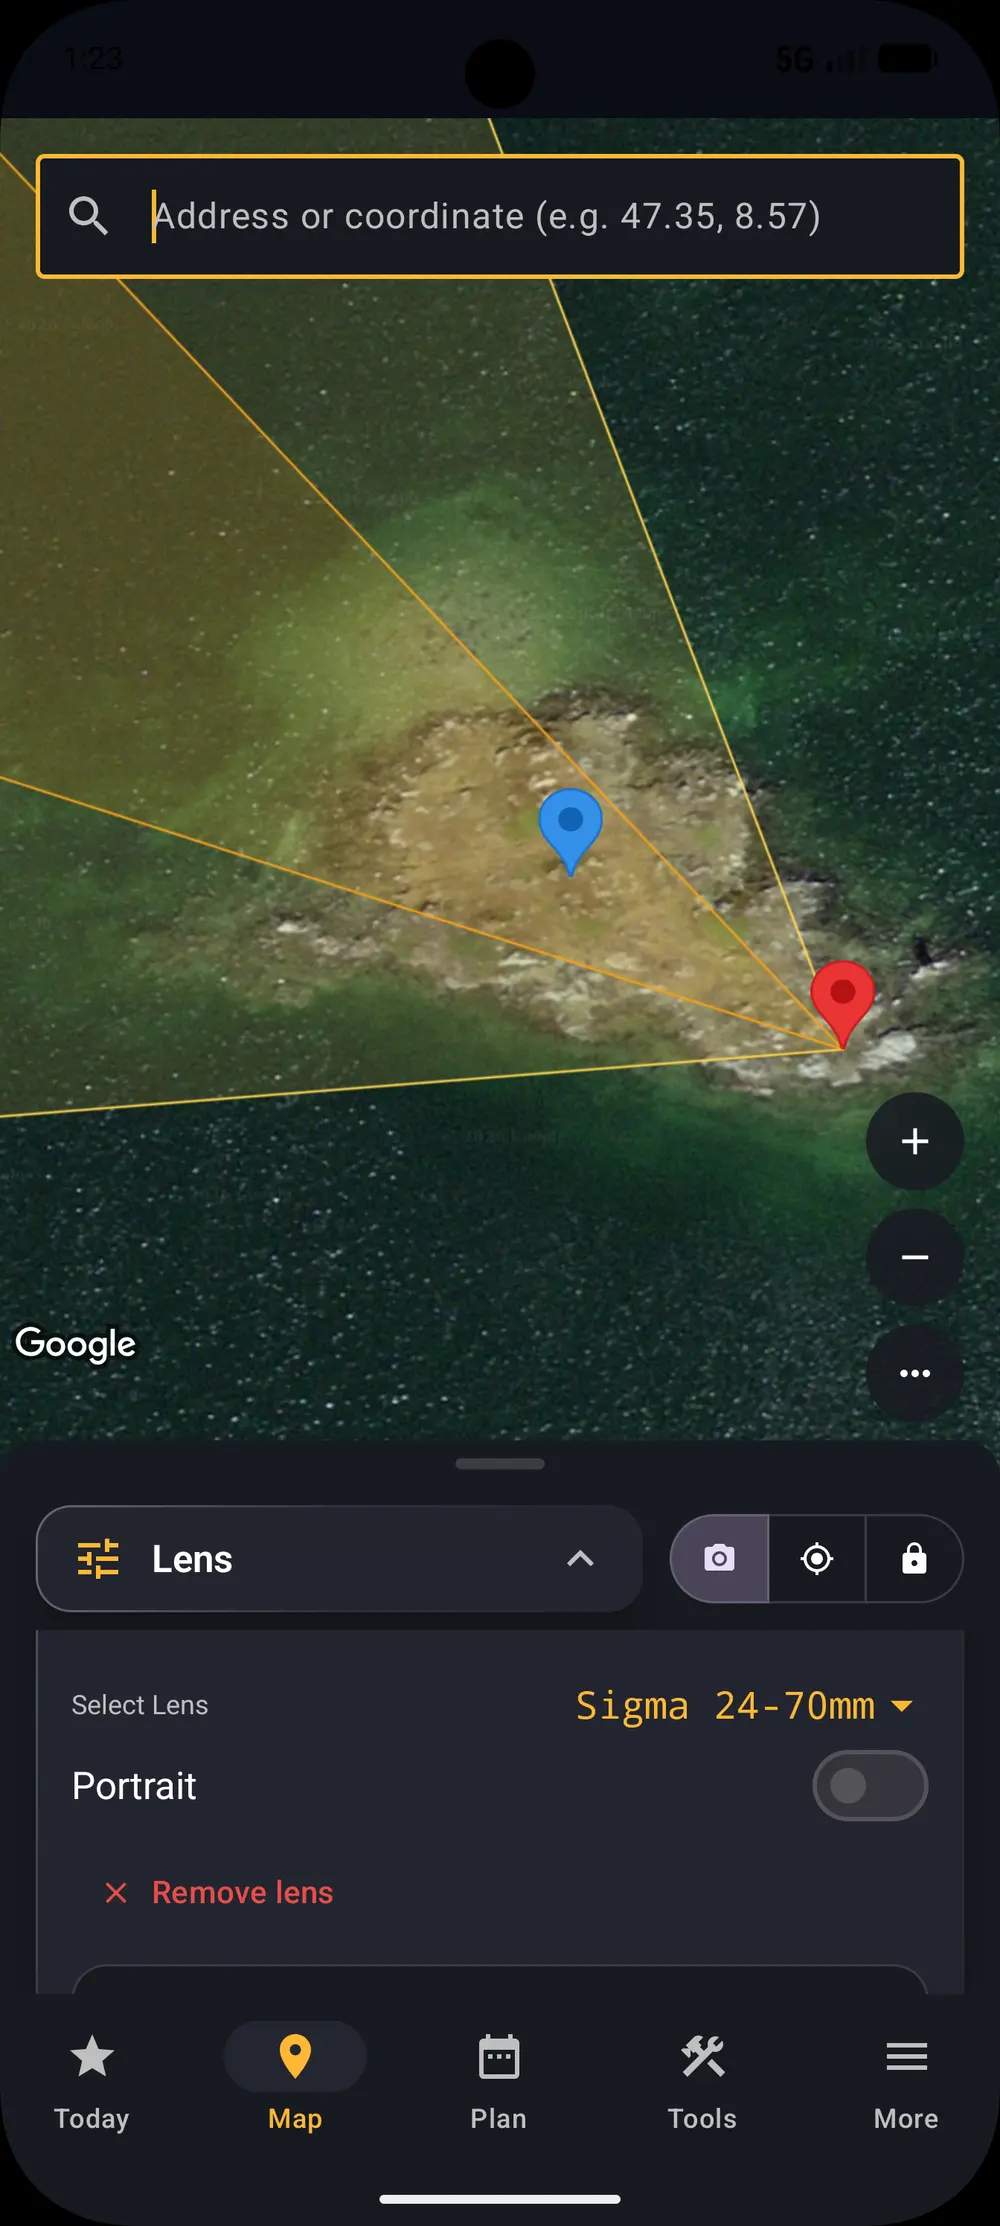
Enter your gear once and the whole app knows about it. The lens overlay uses your real focal range to draw the minimum and maximum angle that lens can cover from where you are standing.
That turns an abstract question into a decision you can make at home: how far back you need to be, which way to face, and whether the shot is inside or outside what your lenses can do.
iOS
Android
Field of view, from your camera and your lens
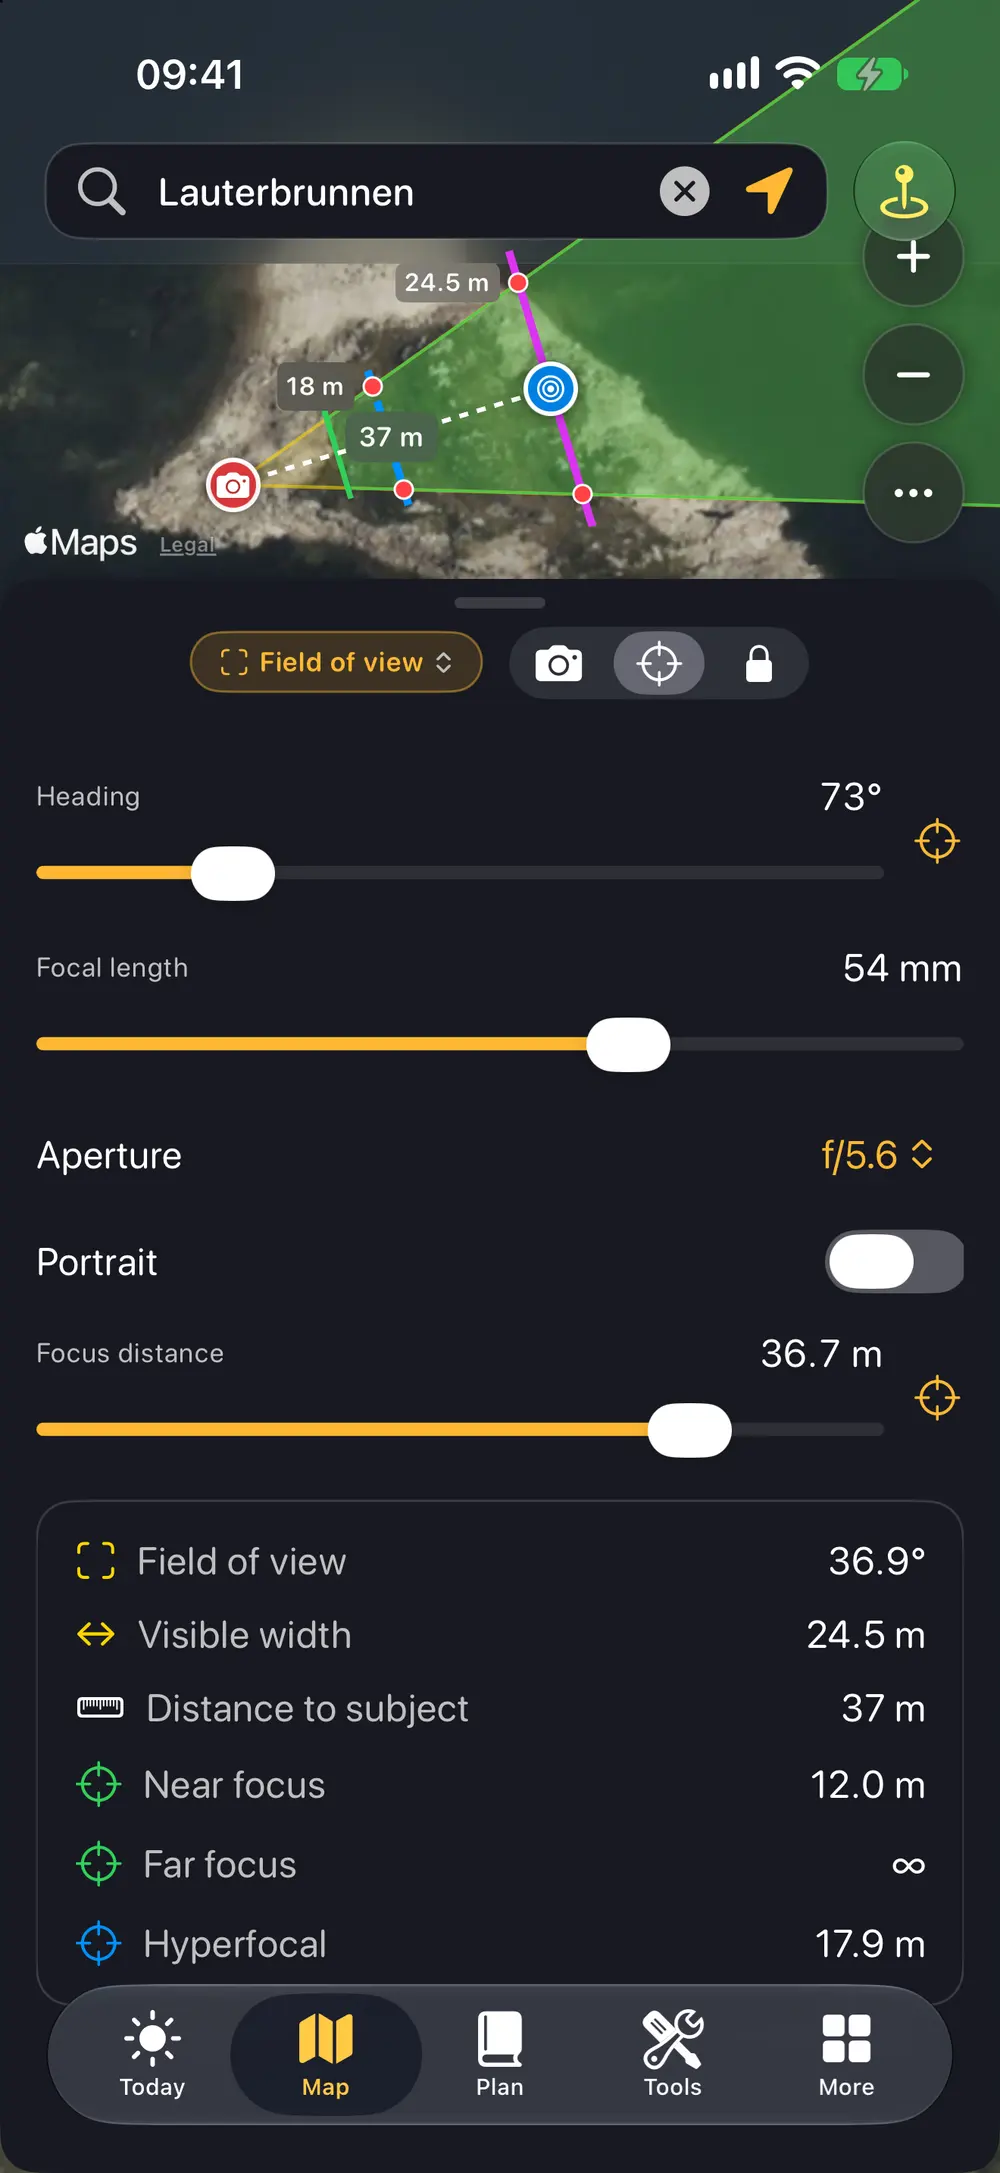
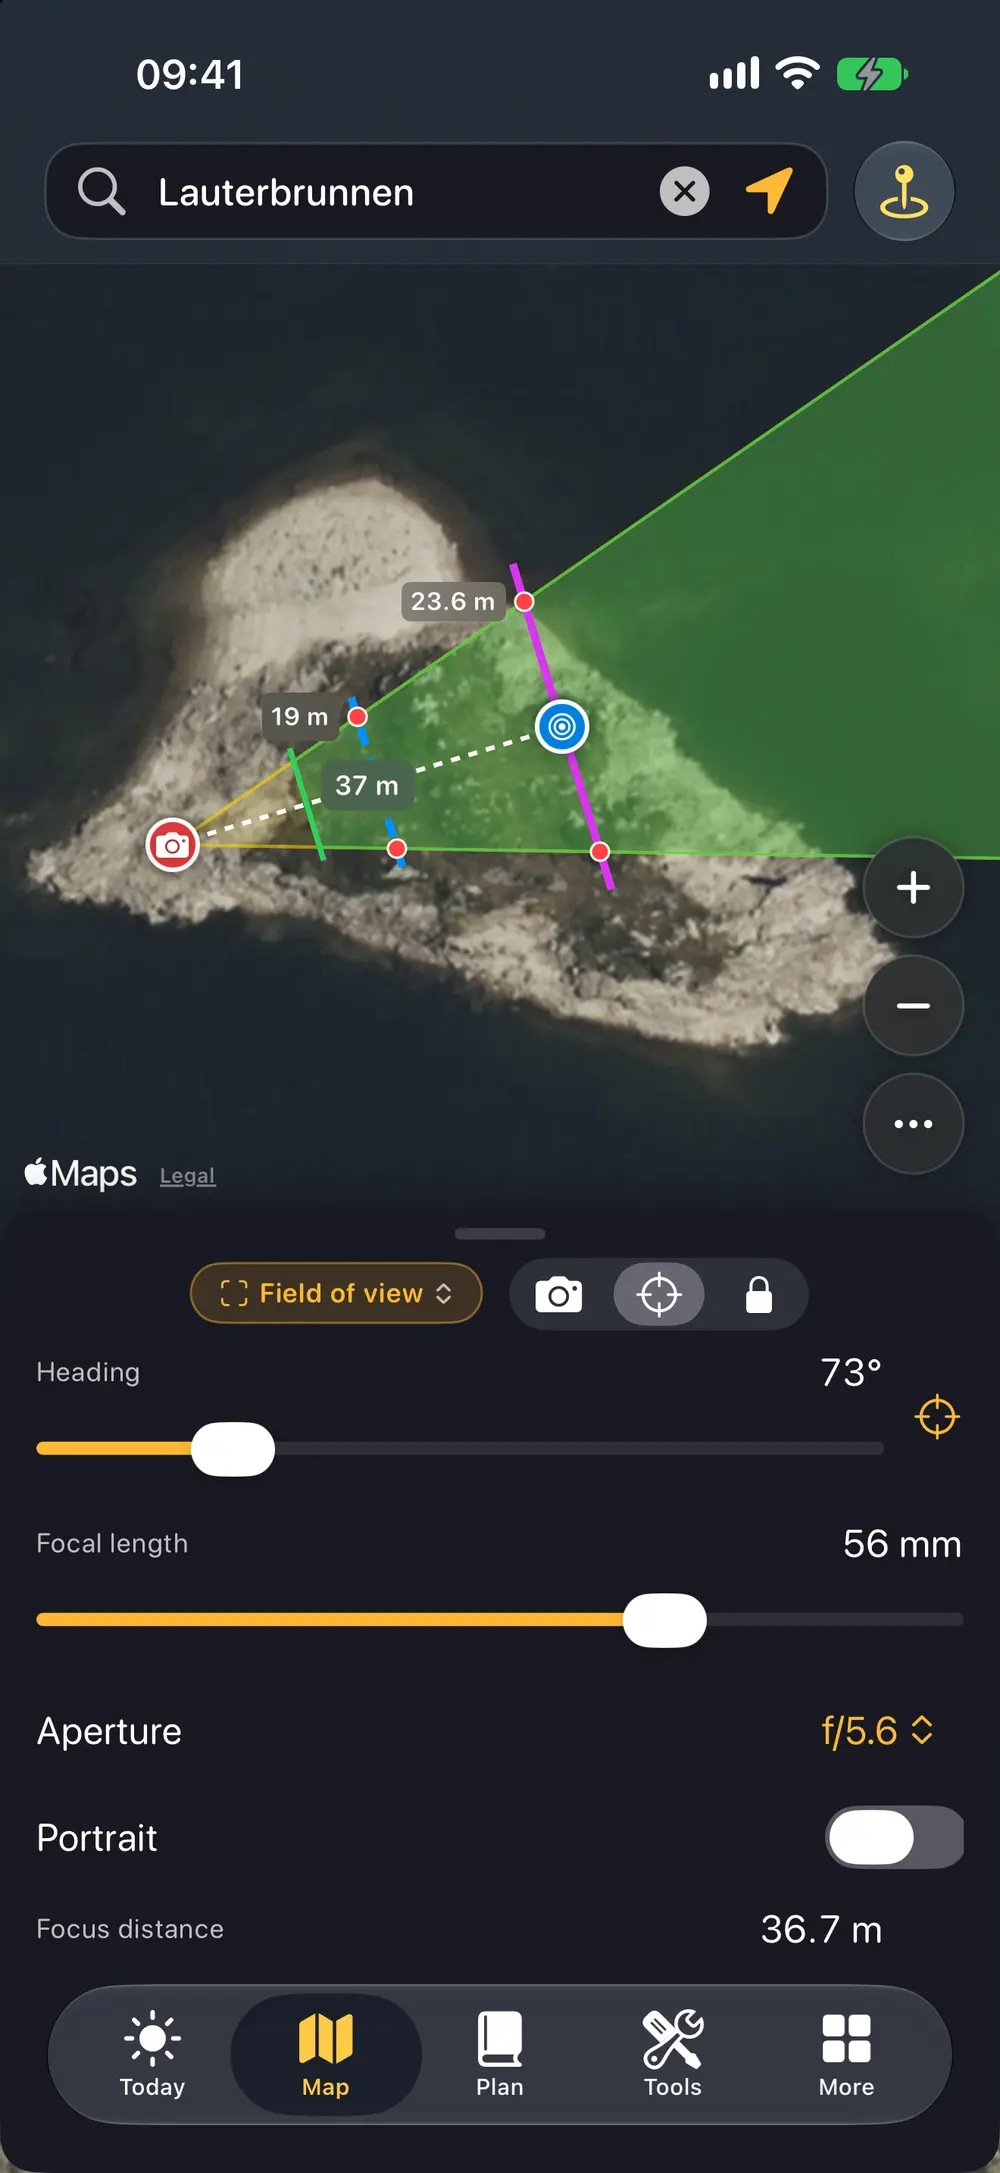
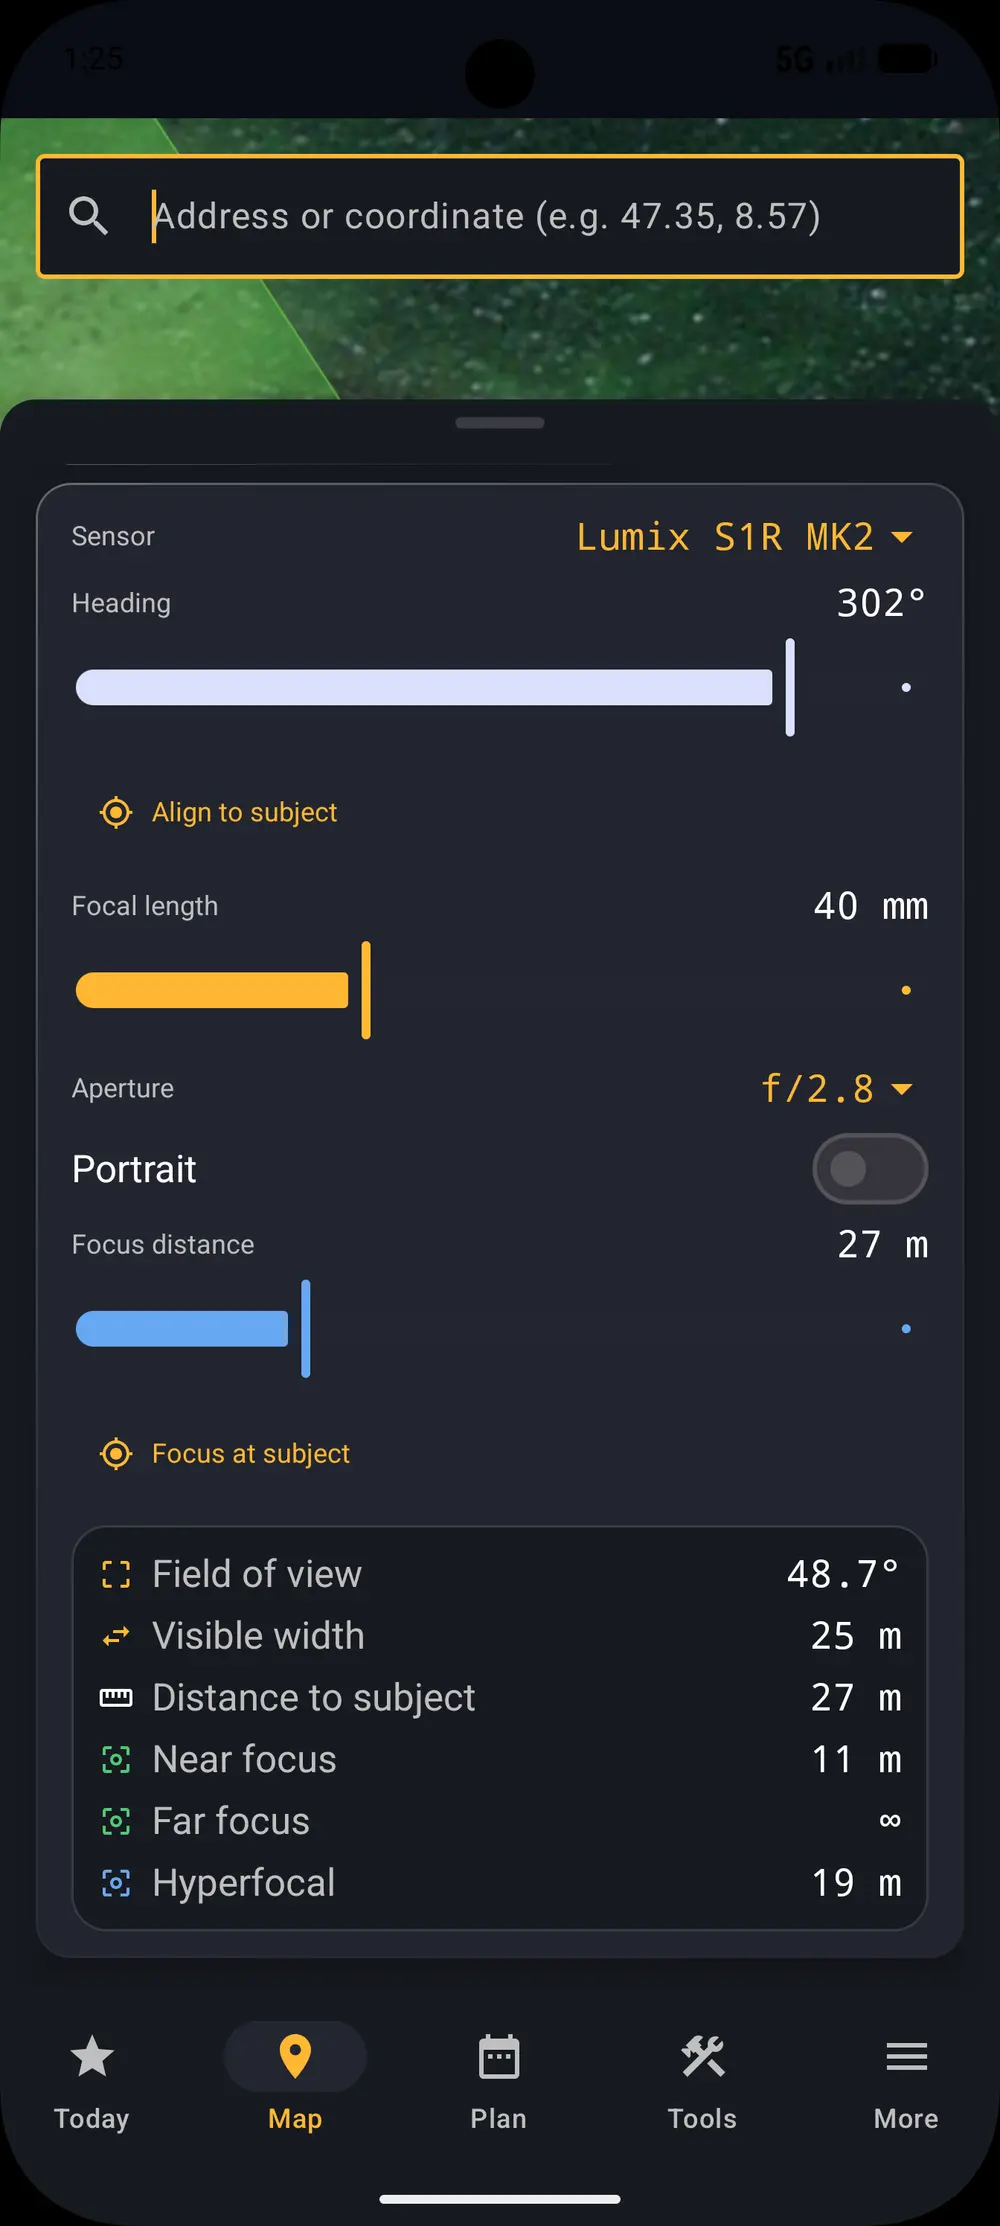
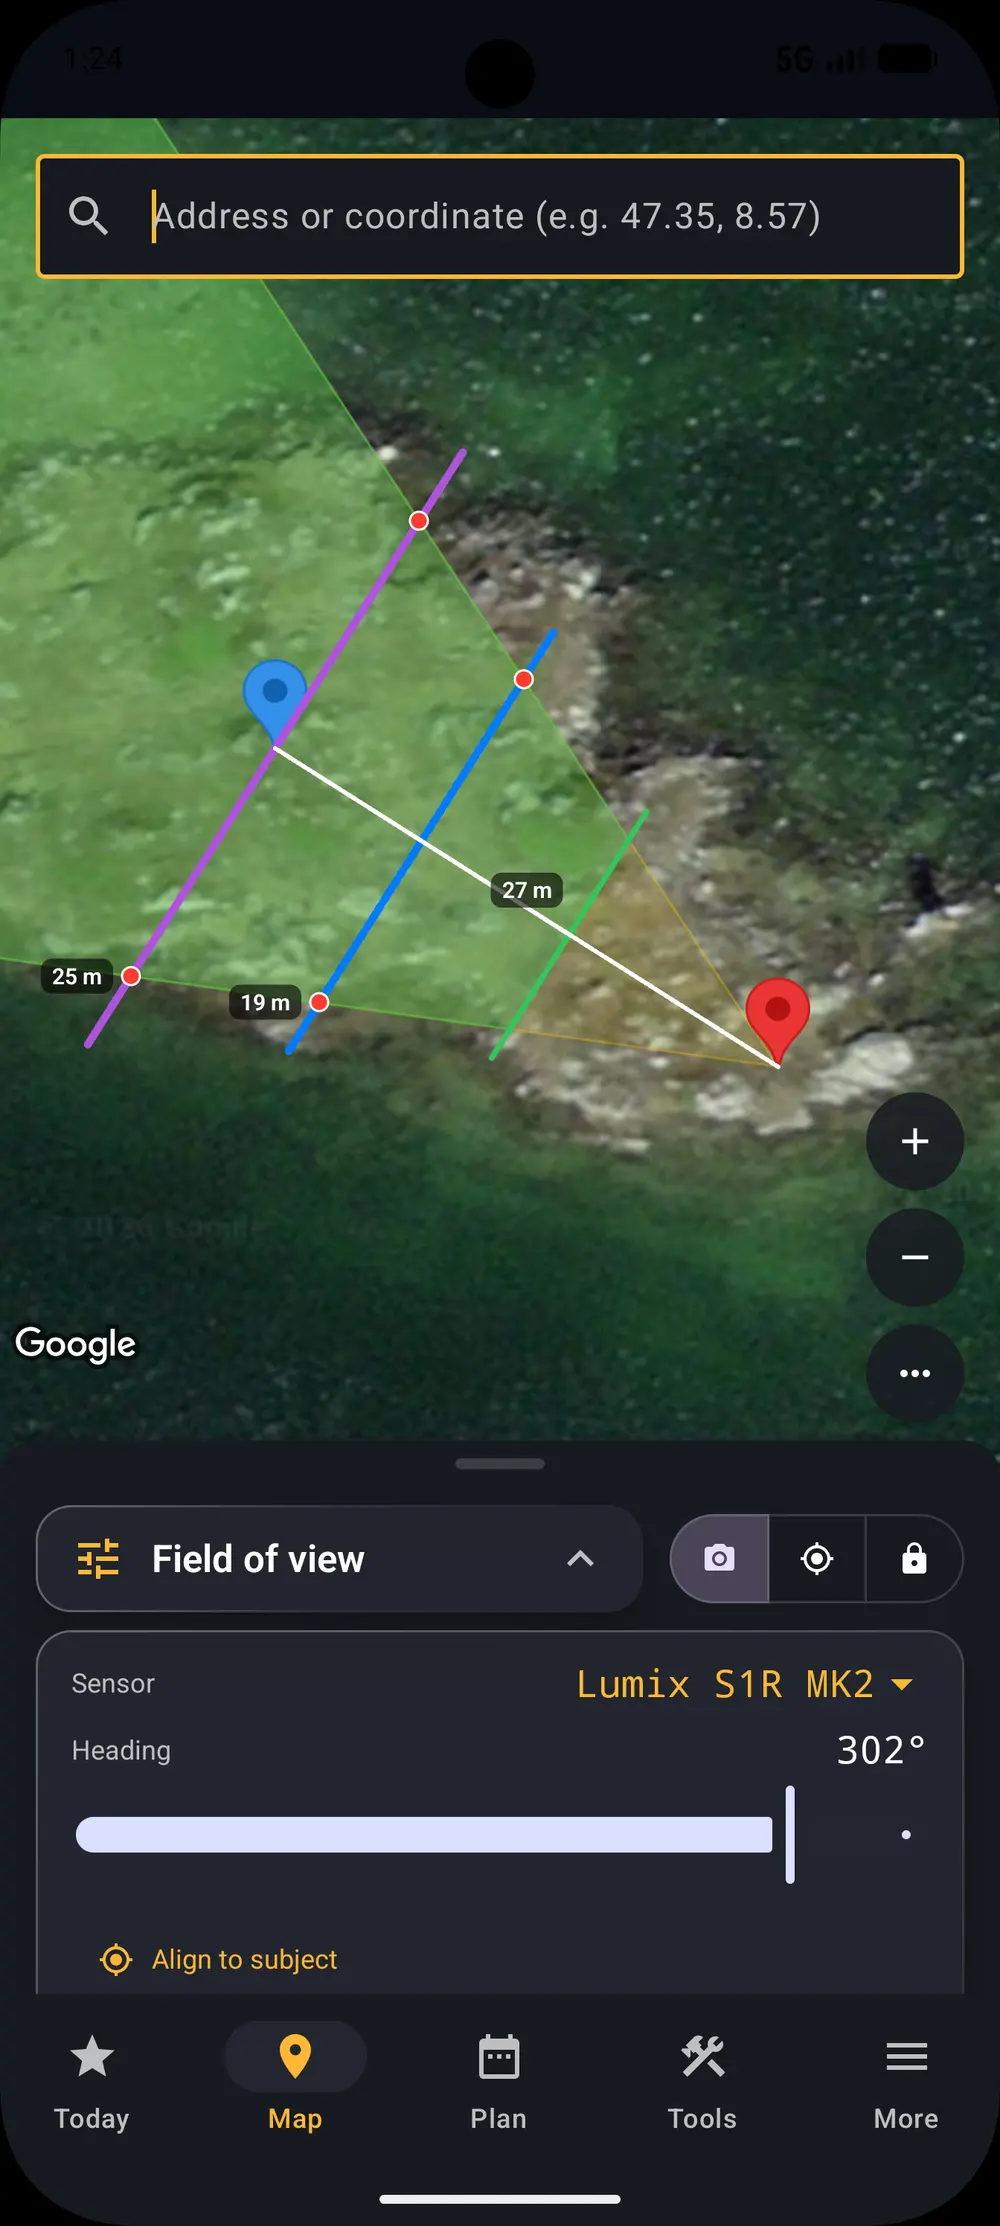
Field of view uses both halves of your kit: the sensor in your camera and the focal length of your lens. The result is a cone drawn on the map showing exactly what the frame will contain from that standpoint.
It also draws the near limit, the hyperfocal distance and the far limit, so you can see how much of the scene will be sharp, and how wide a subject the frame covers at the distance you are shooting from.
Adjust focal length, aperture and orientation and the cone follows, which is how you find the standpoint before you walk to it.
iOS
Android
Work backwards to the focal length
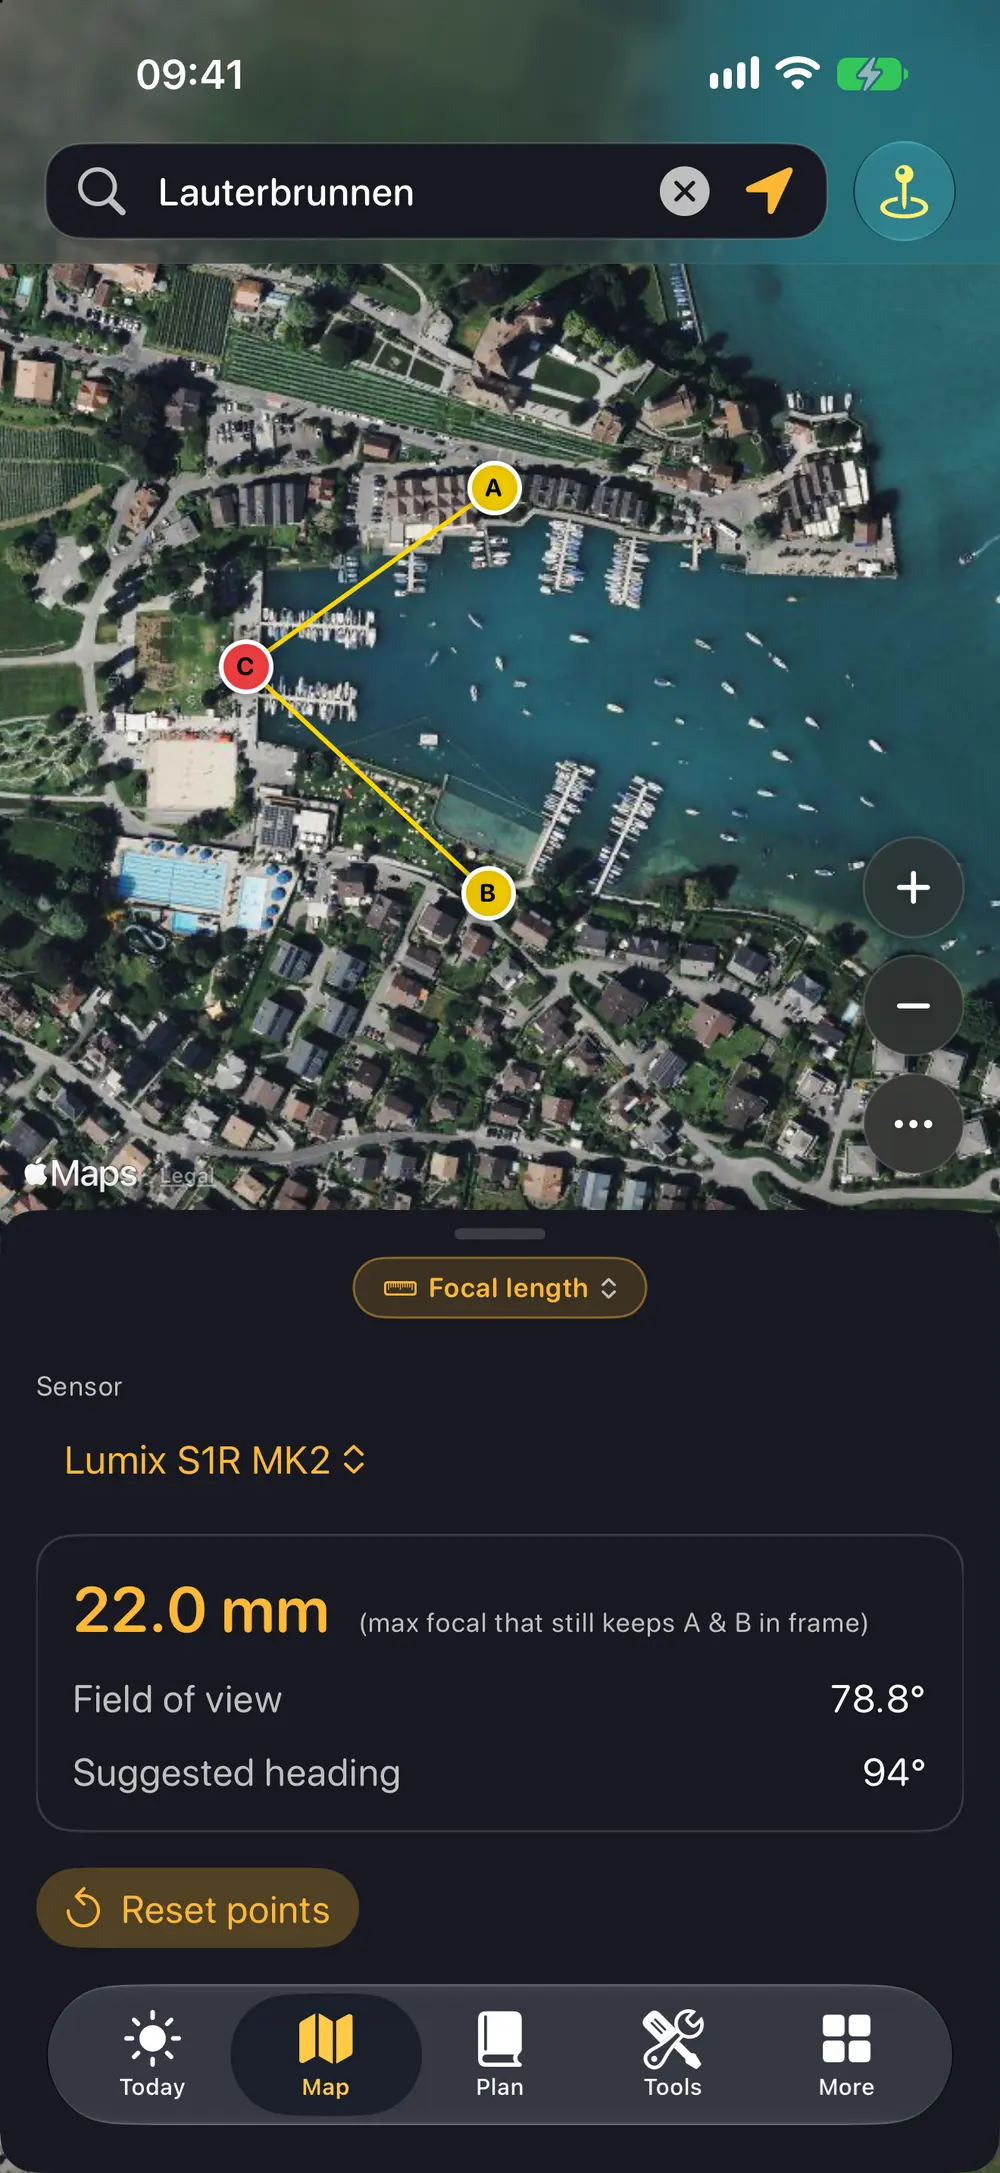
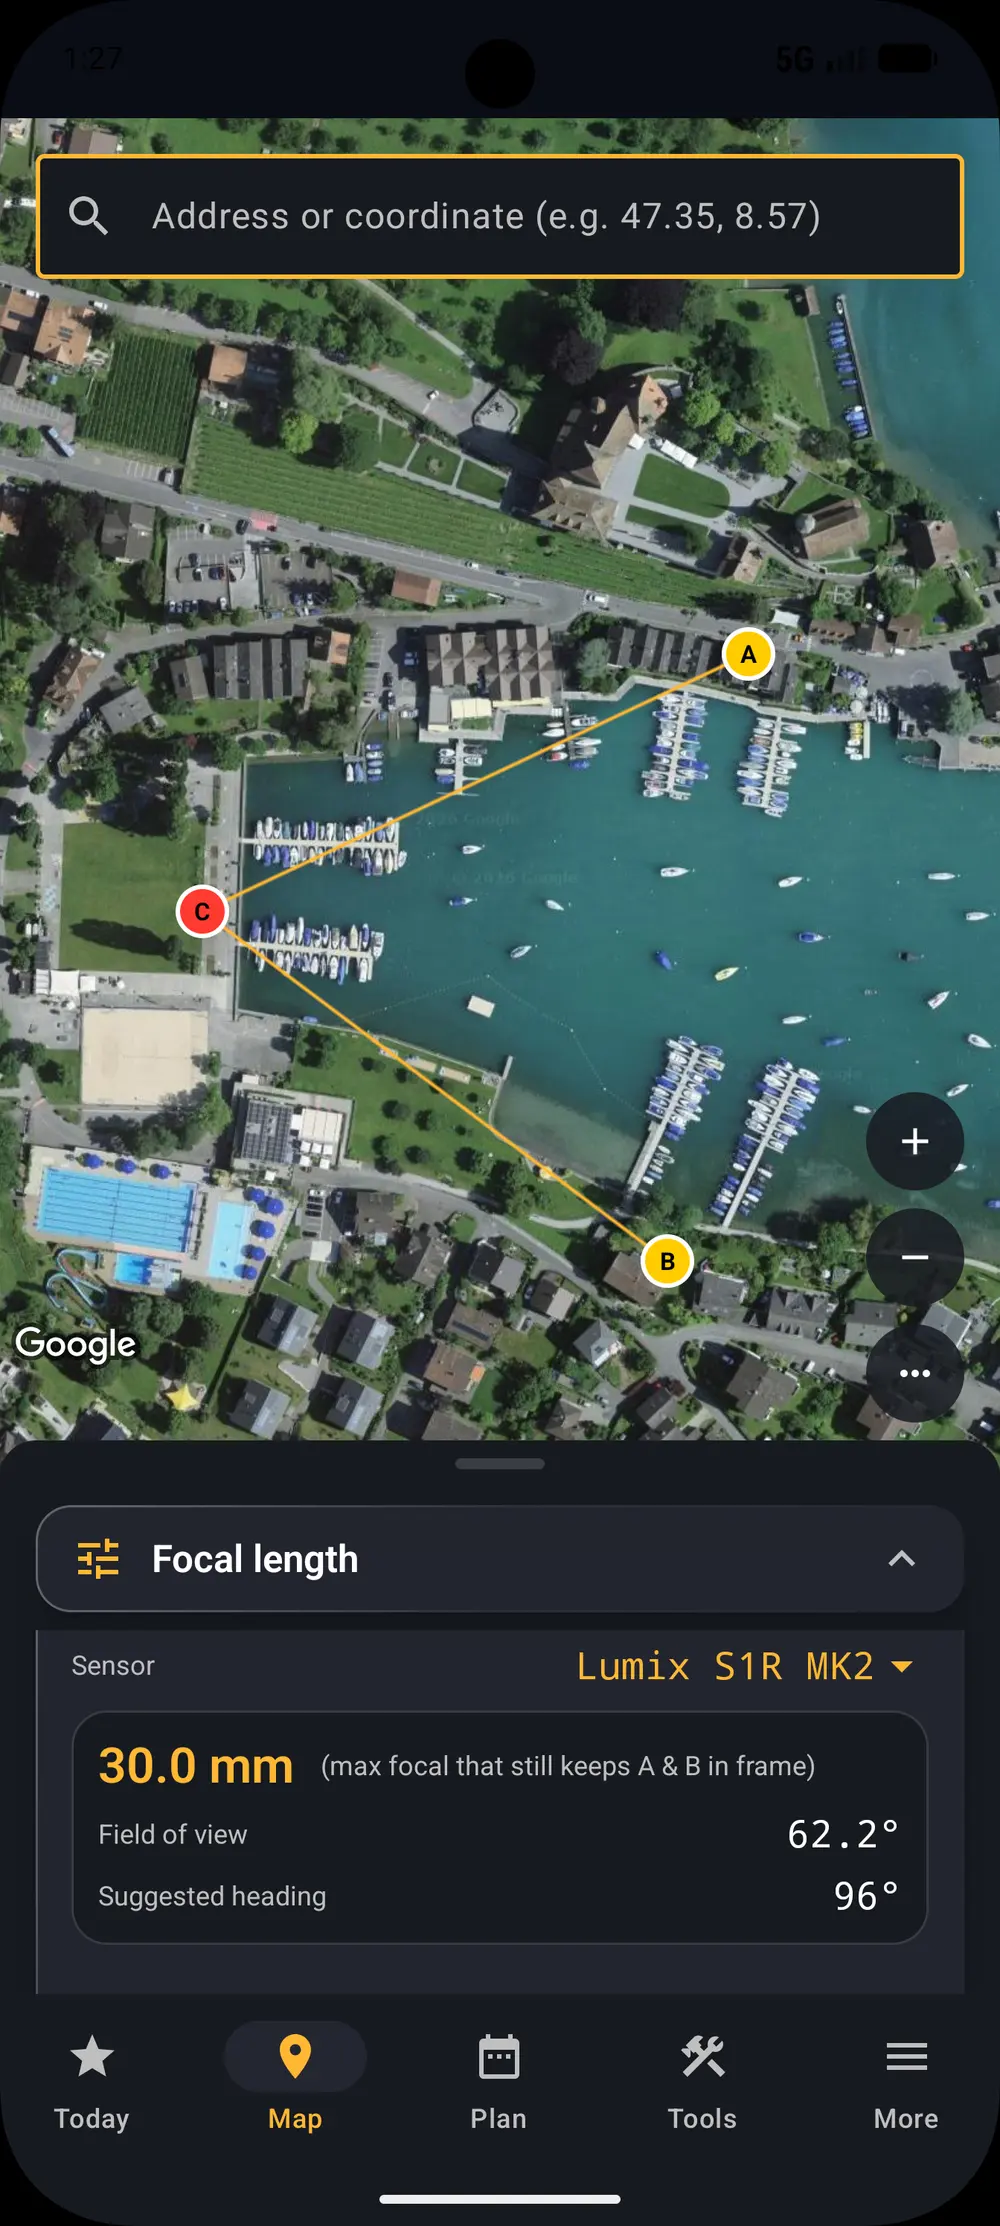
Sometimes you know the frame you want rather than the lens. Place two points on the map, one at each edge of what the photograph should contain, and Aperilux tells you the focal length that covers exactly that.
It accounts for your sensor size, so the number it gives you is the number on your lens barrel, not a full frame equivalent you have to convert.
iOS
Android
Plan the flight, not just the walk
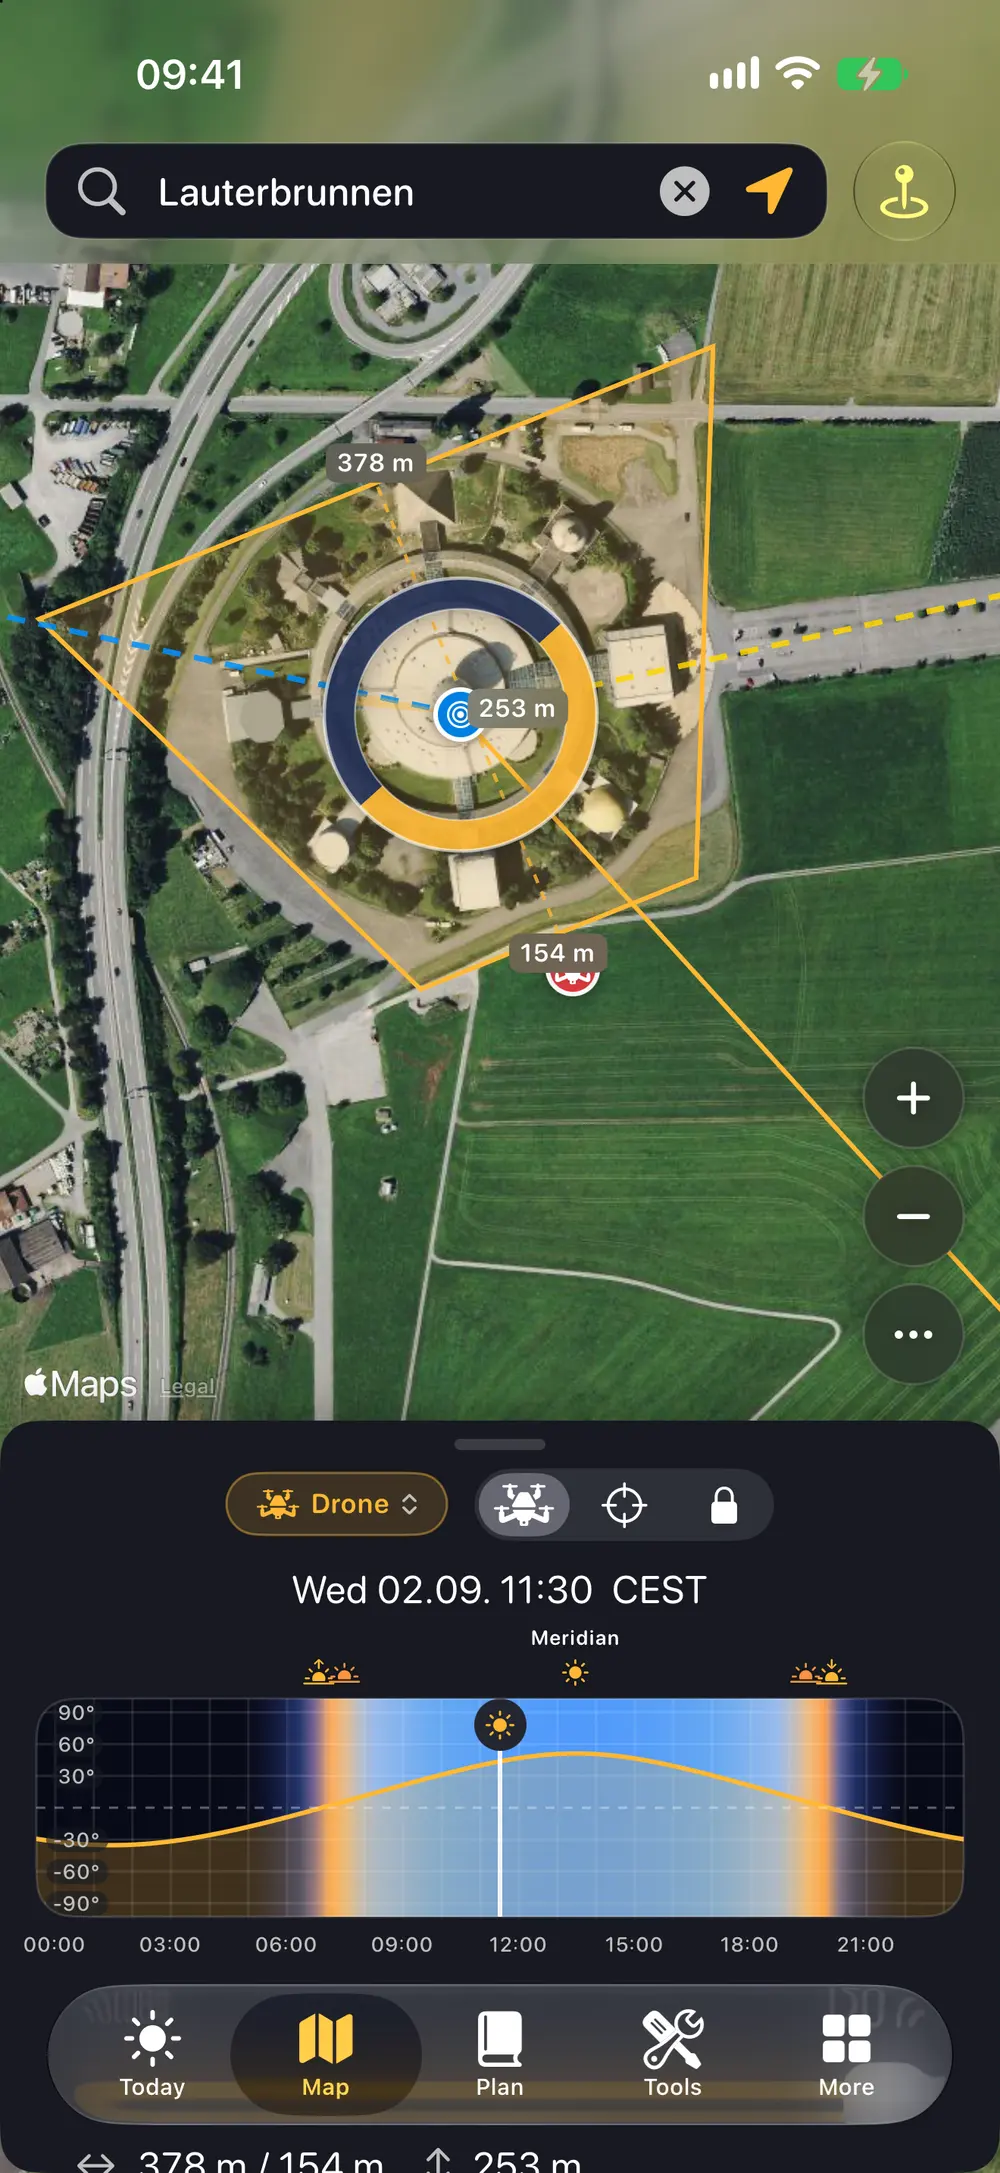
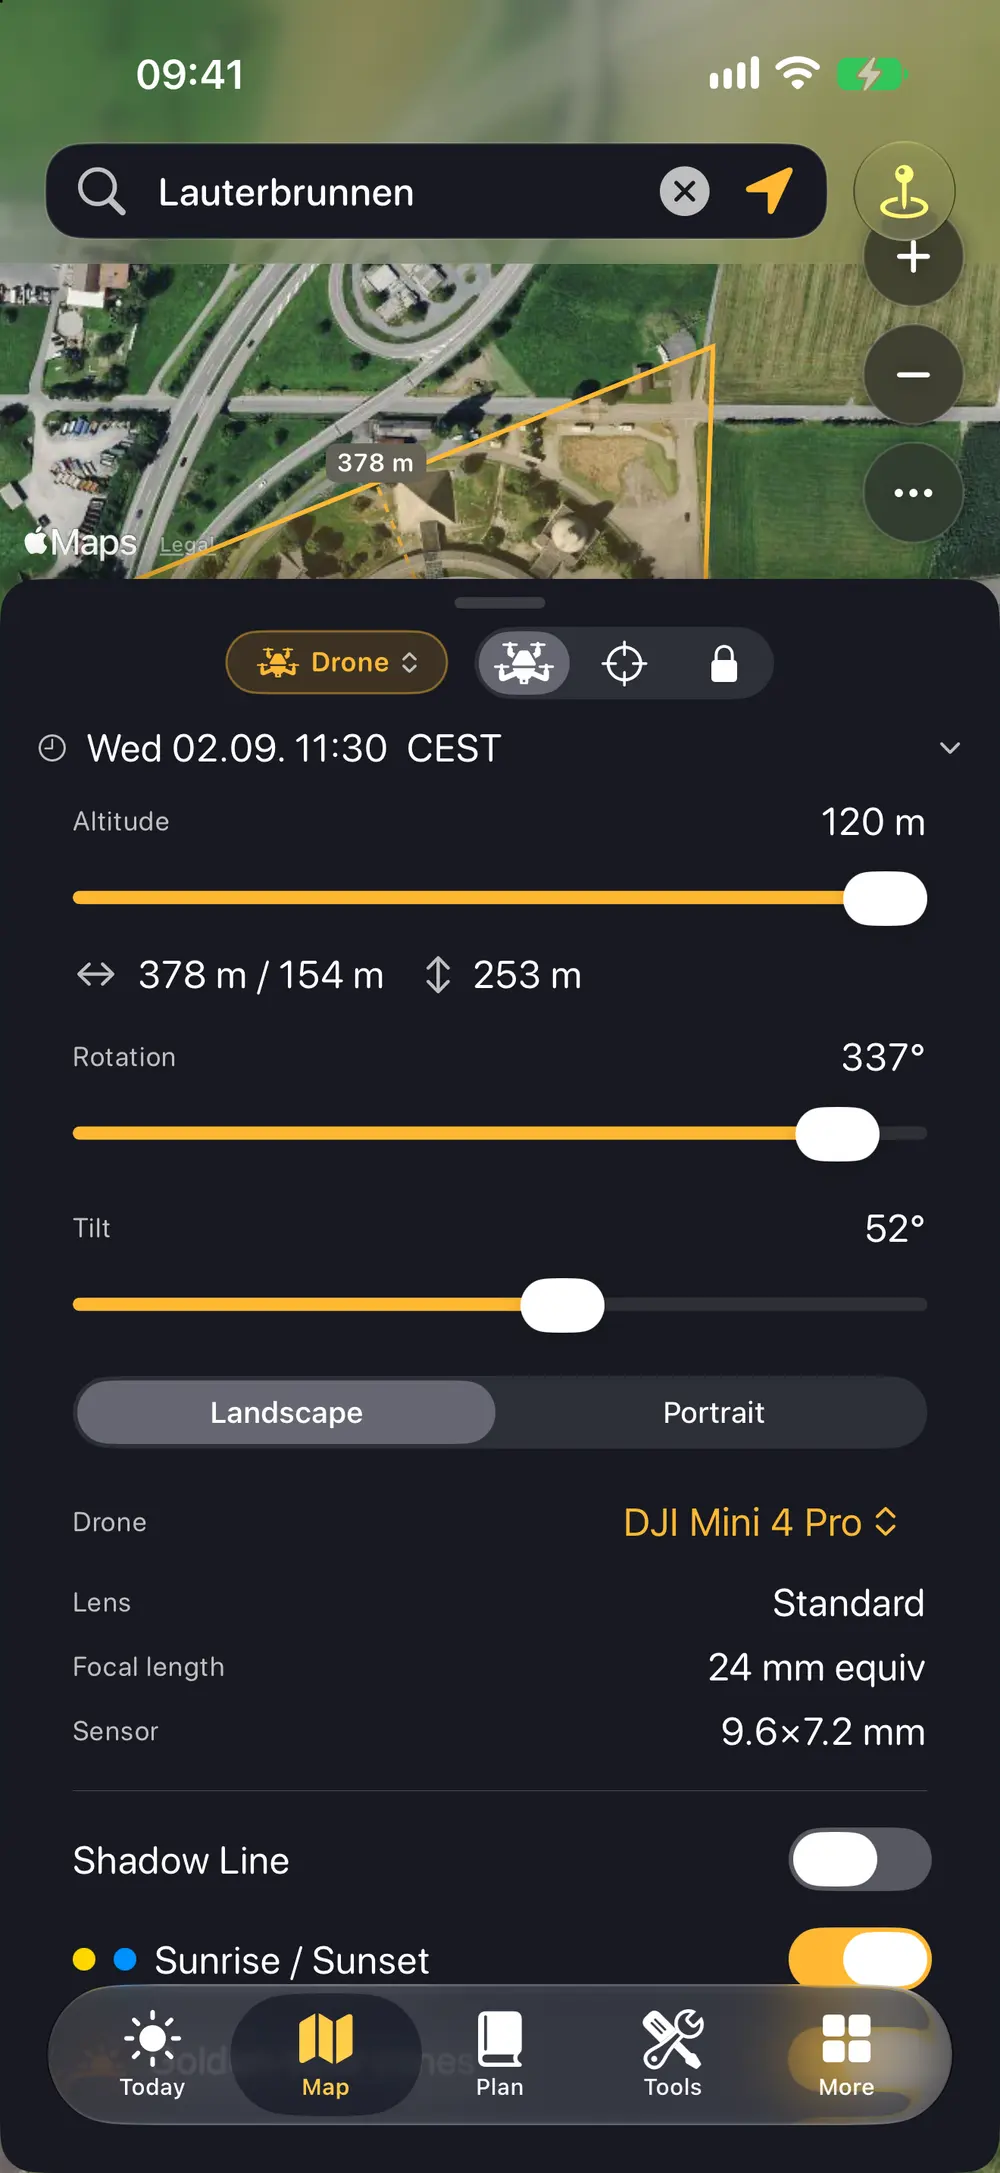
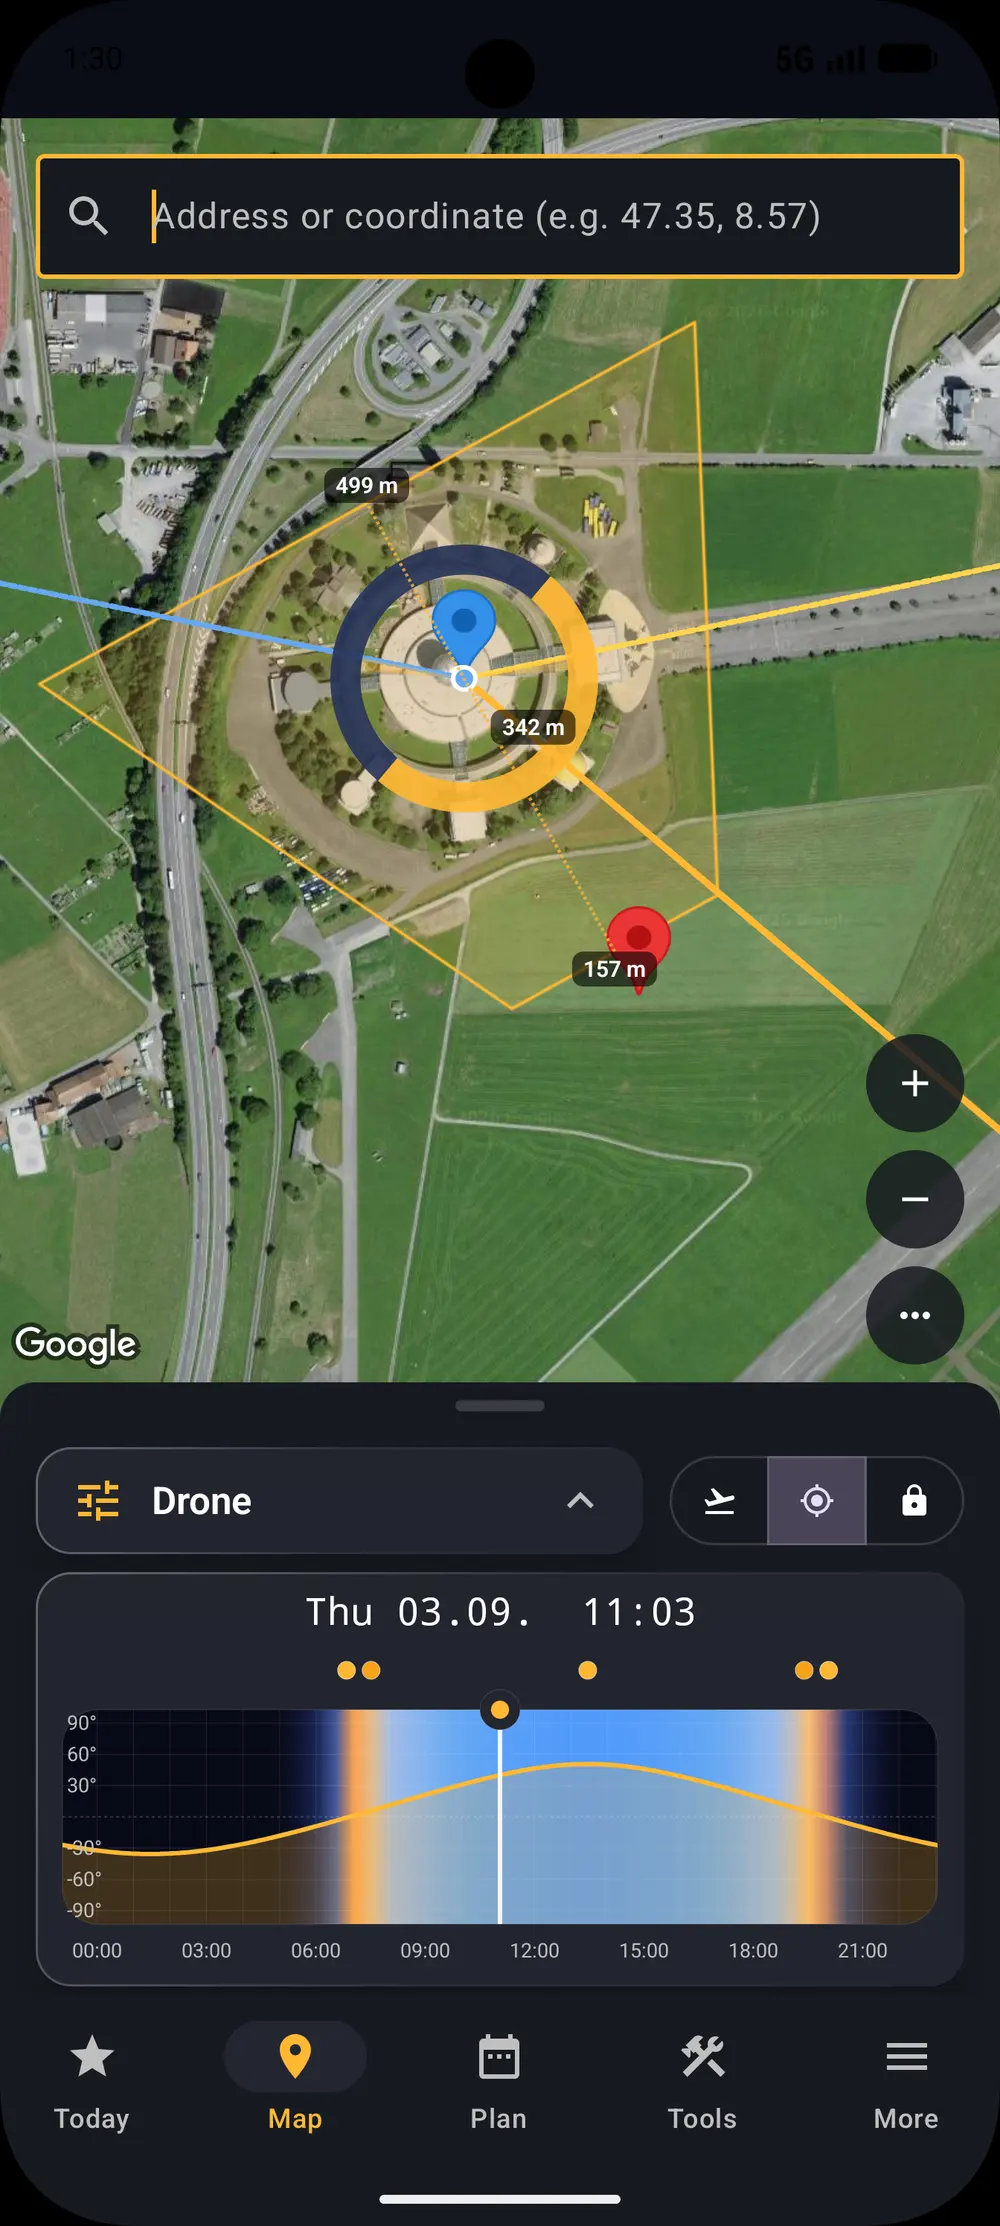
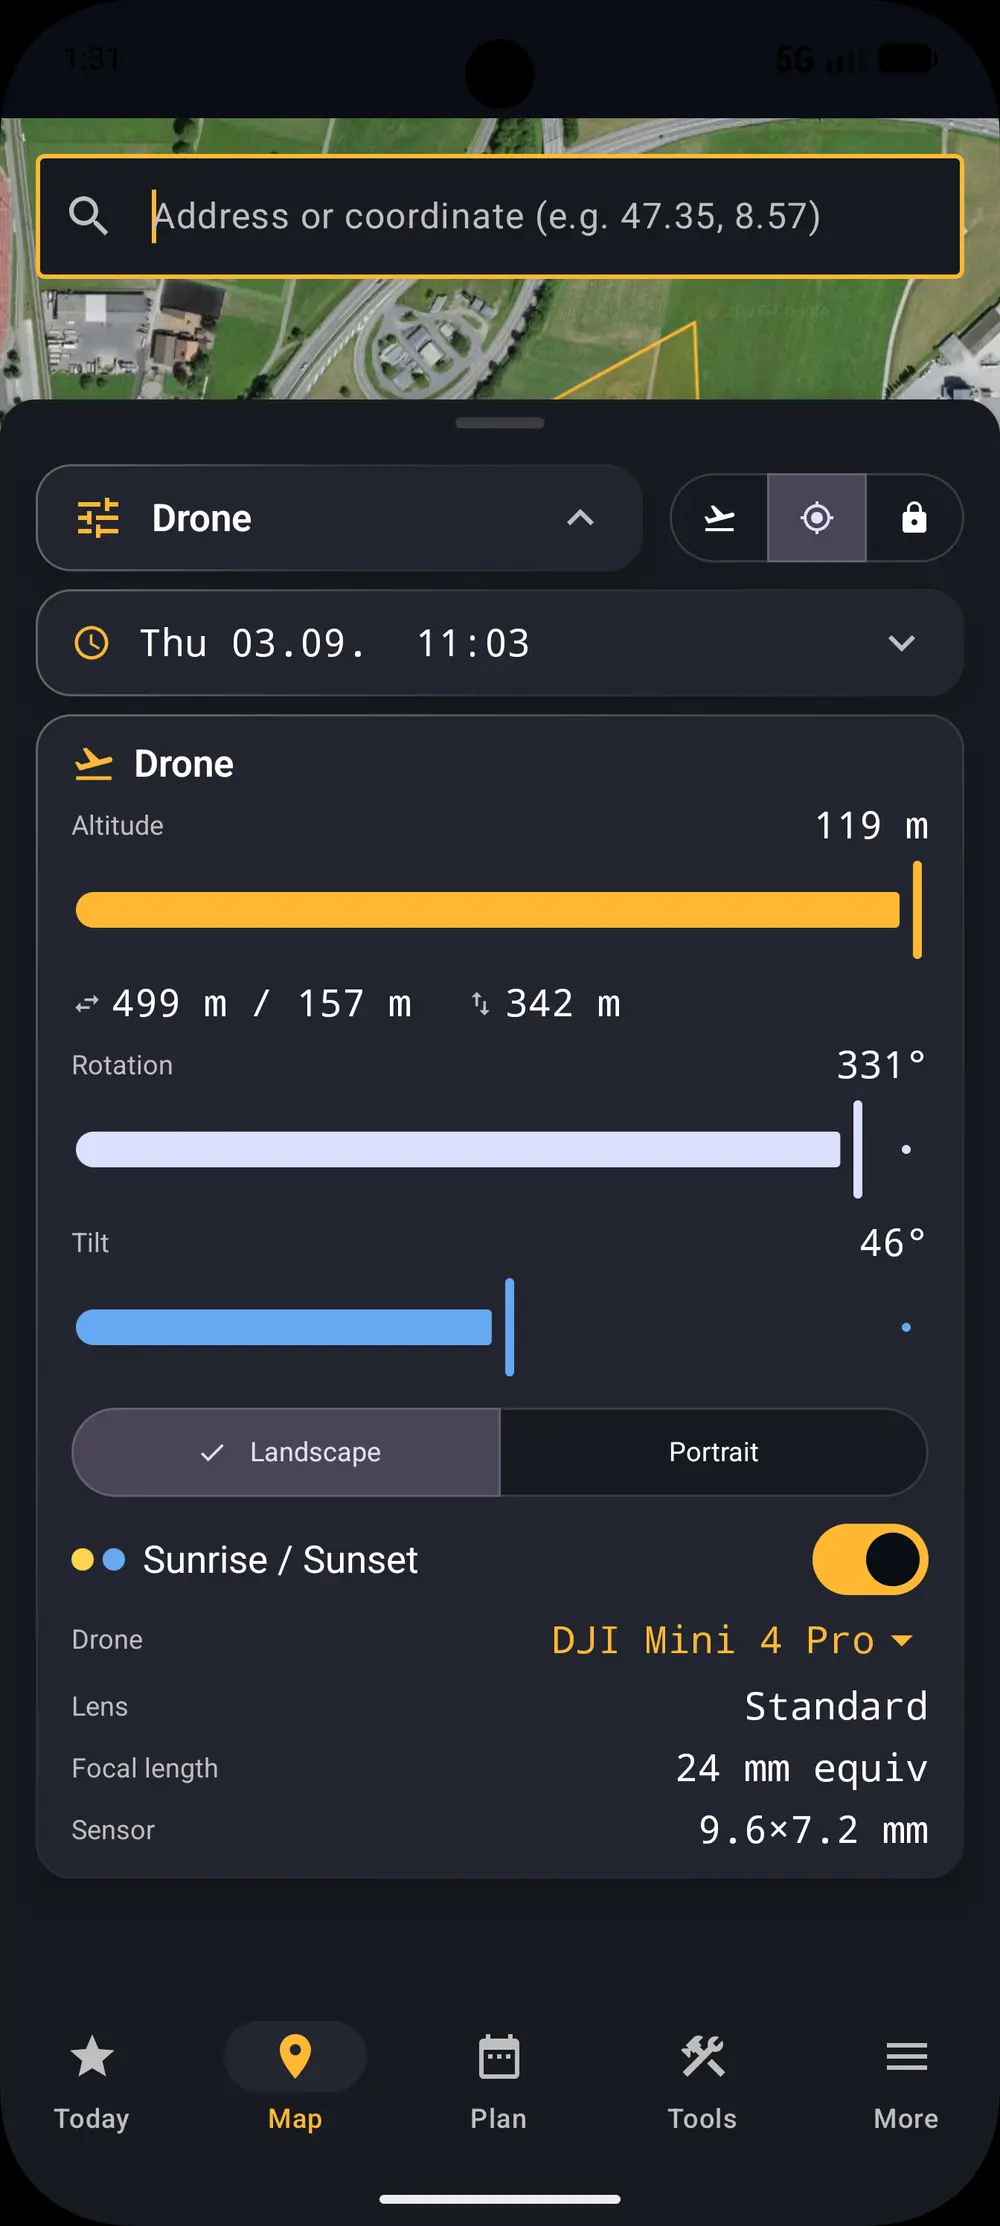
Drone mode reads from the same inventory. Pick the aircraft and its optics from your gear and the map draws the footprint that camera actually covers.
Adjust height, orientation, elevation and tilt to match the flight you are planning, and change the date and time to see how the shadows will fall while you are up there. One battery is a short window, so arriving with the framing already decided is most of the job.
iOS
Android
When will it line up?
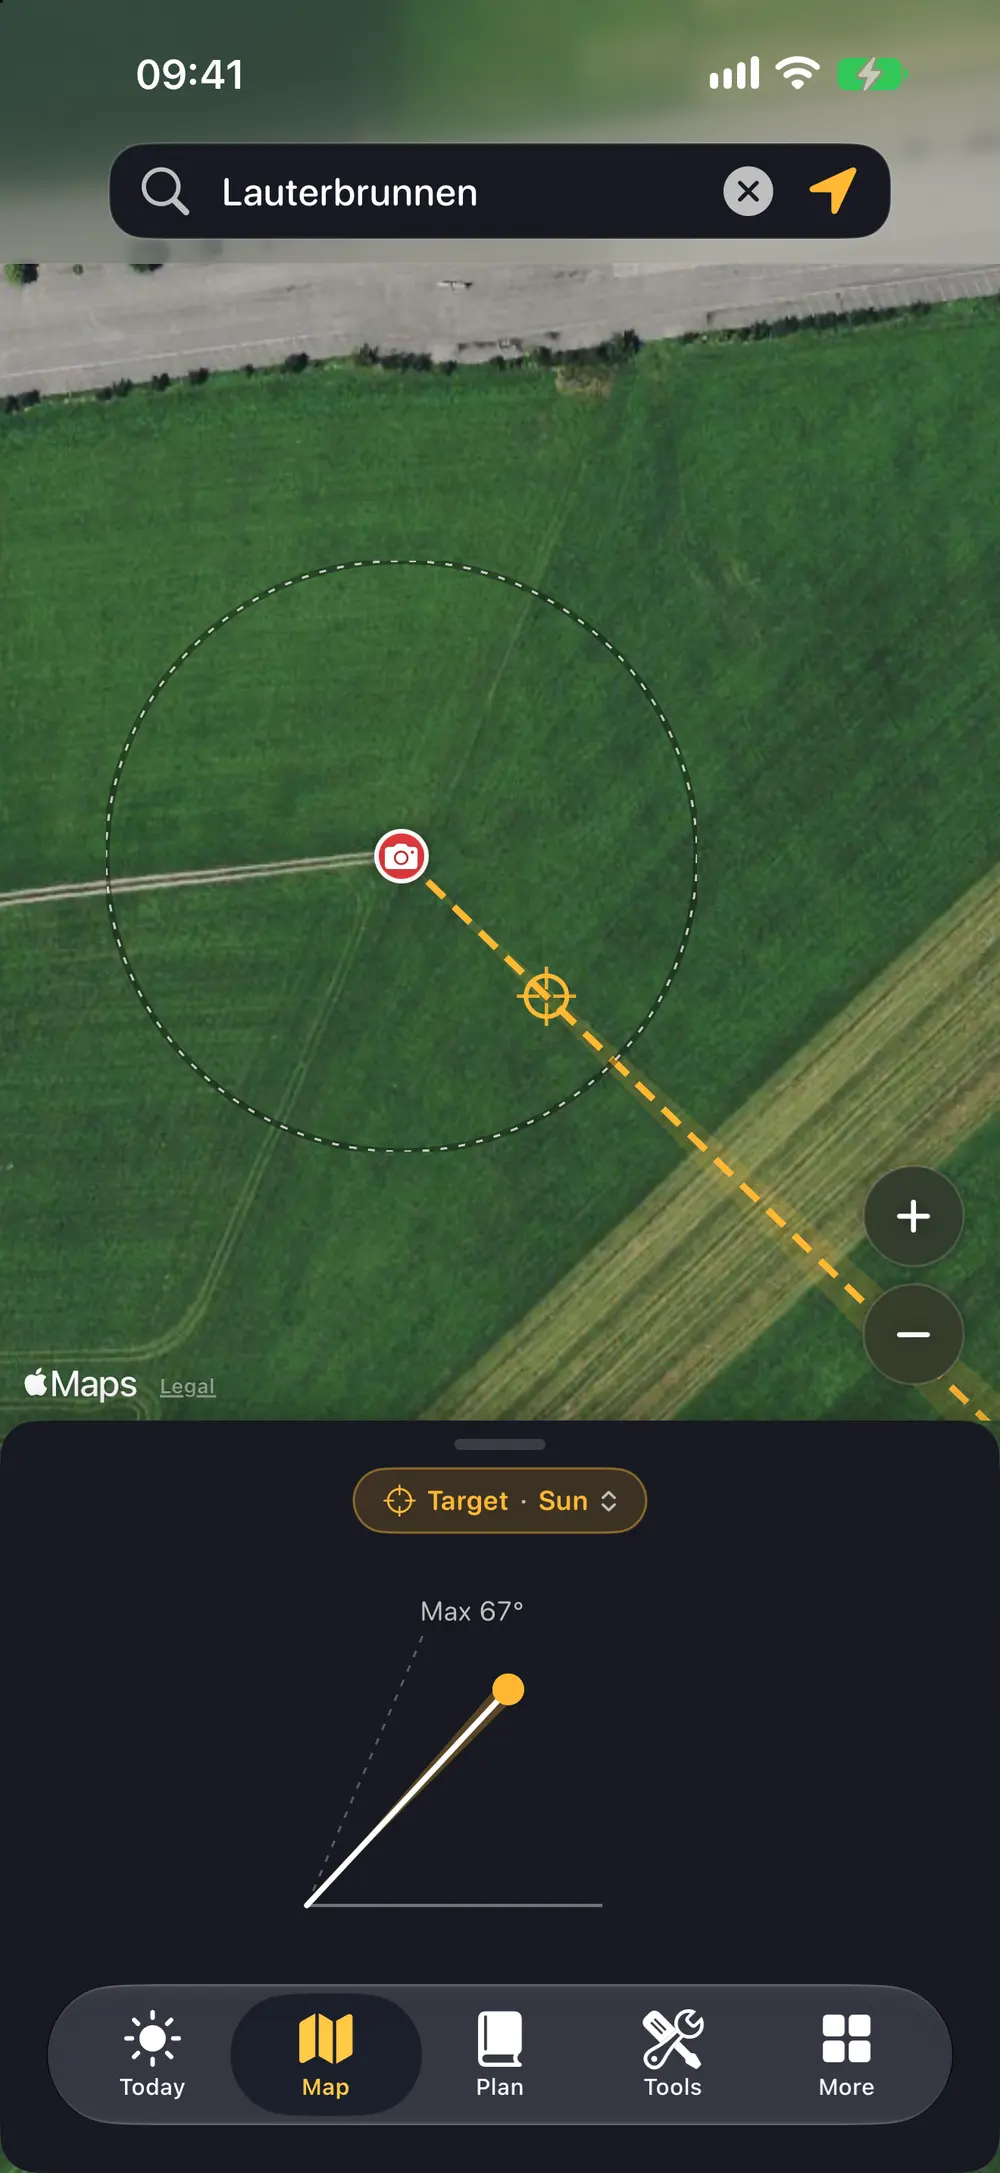
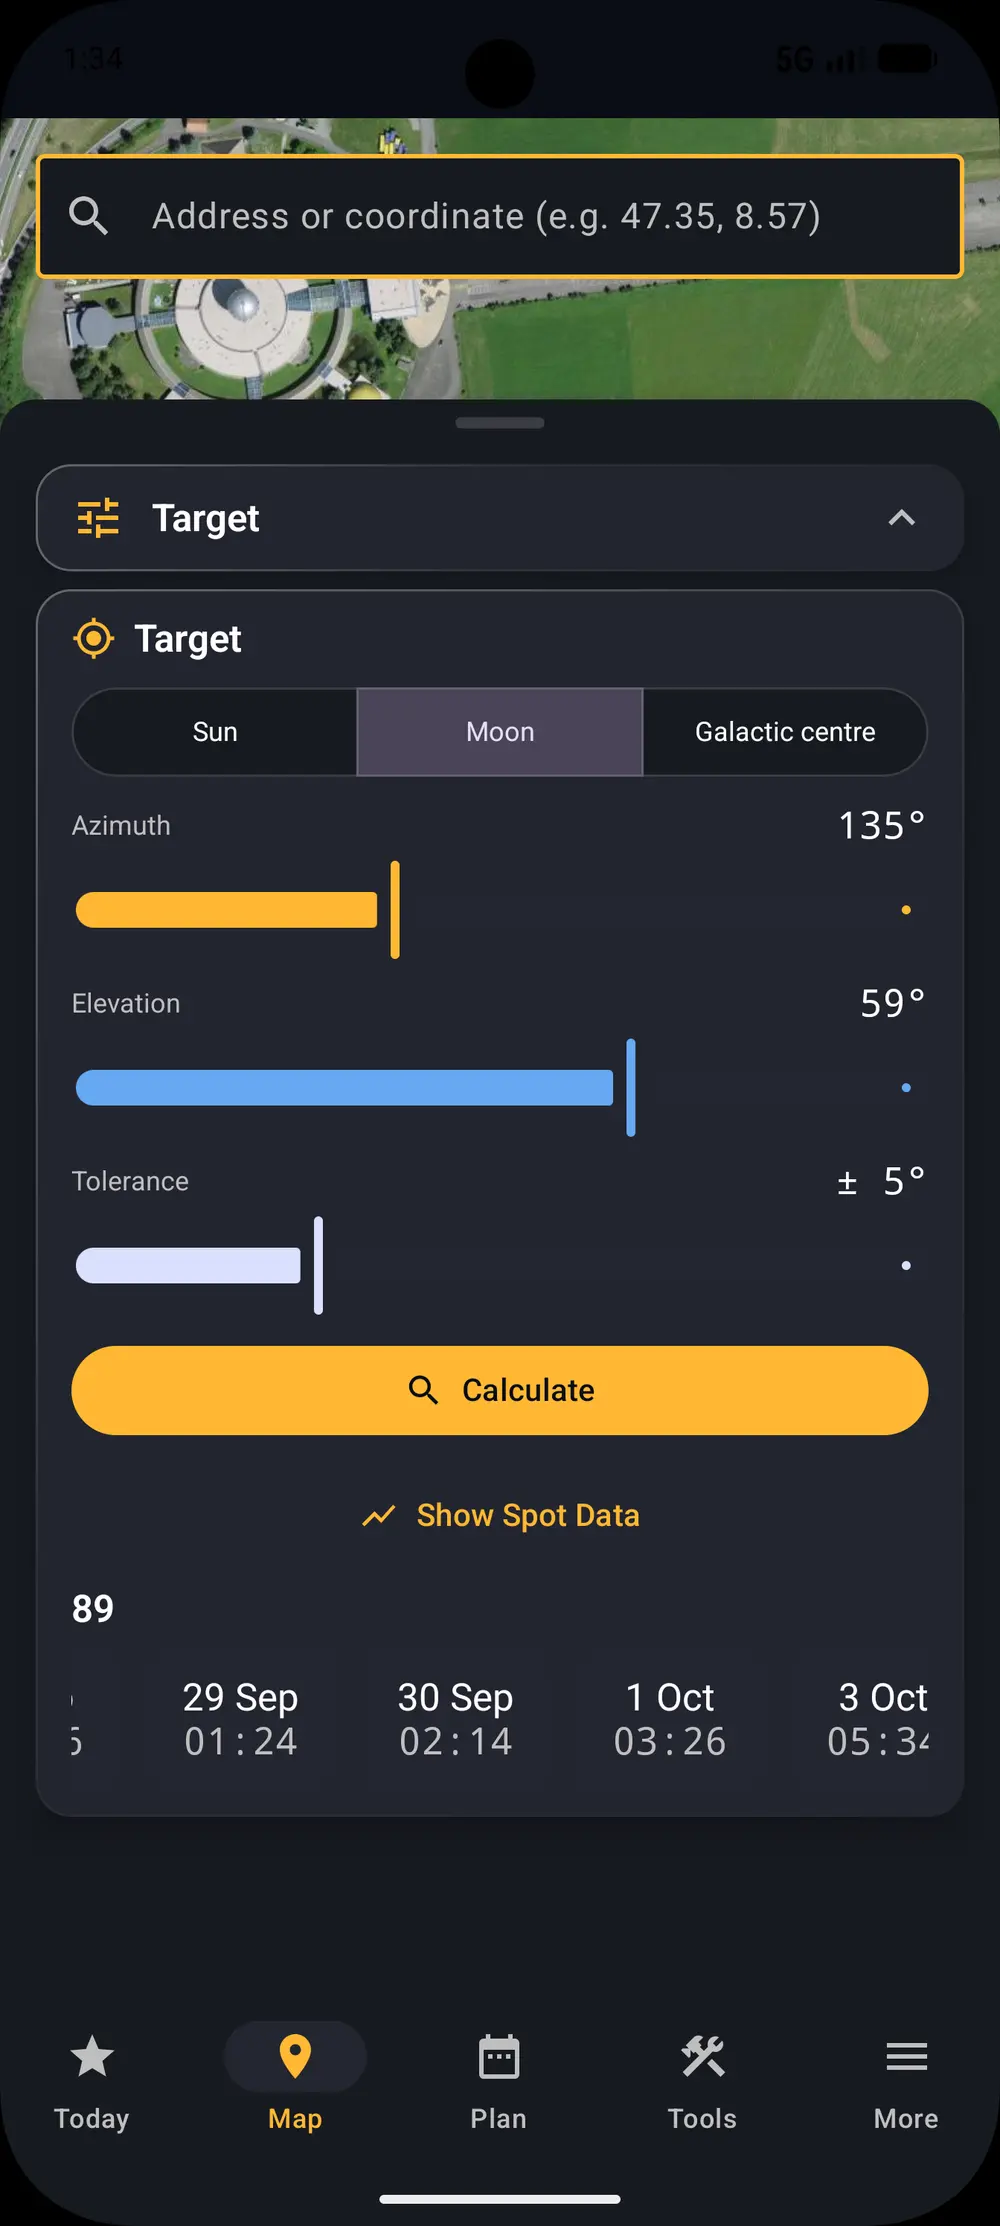
Target mode turns the question around. Instead of asking where the sun will be at a given time, you describe the geometry you want and let Aperilux find the date.
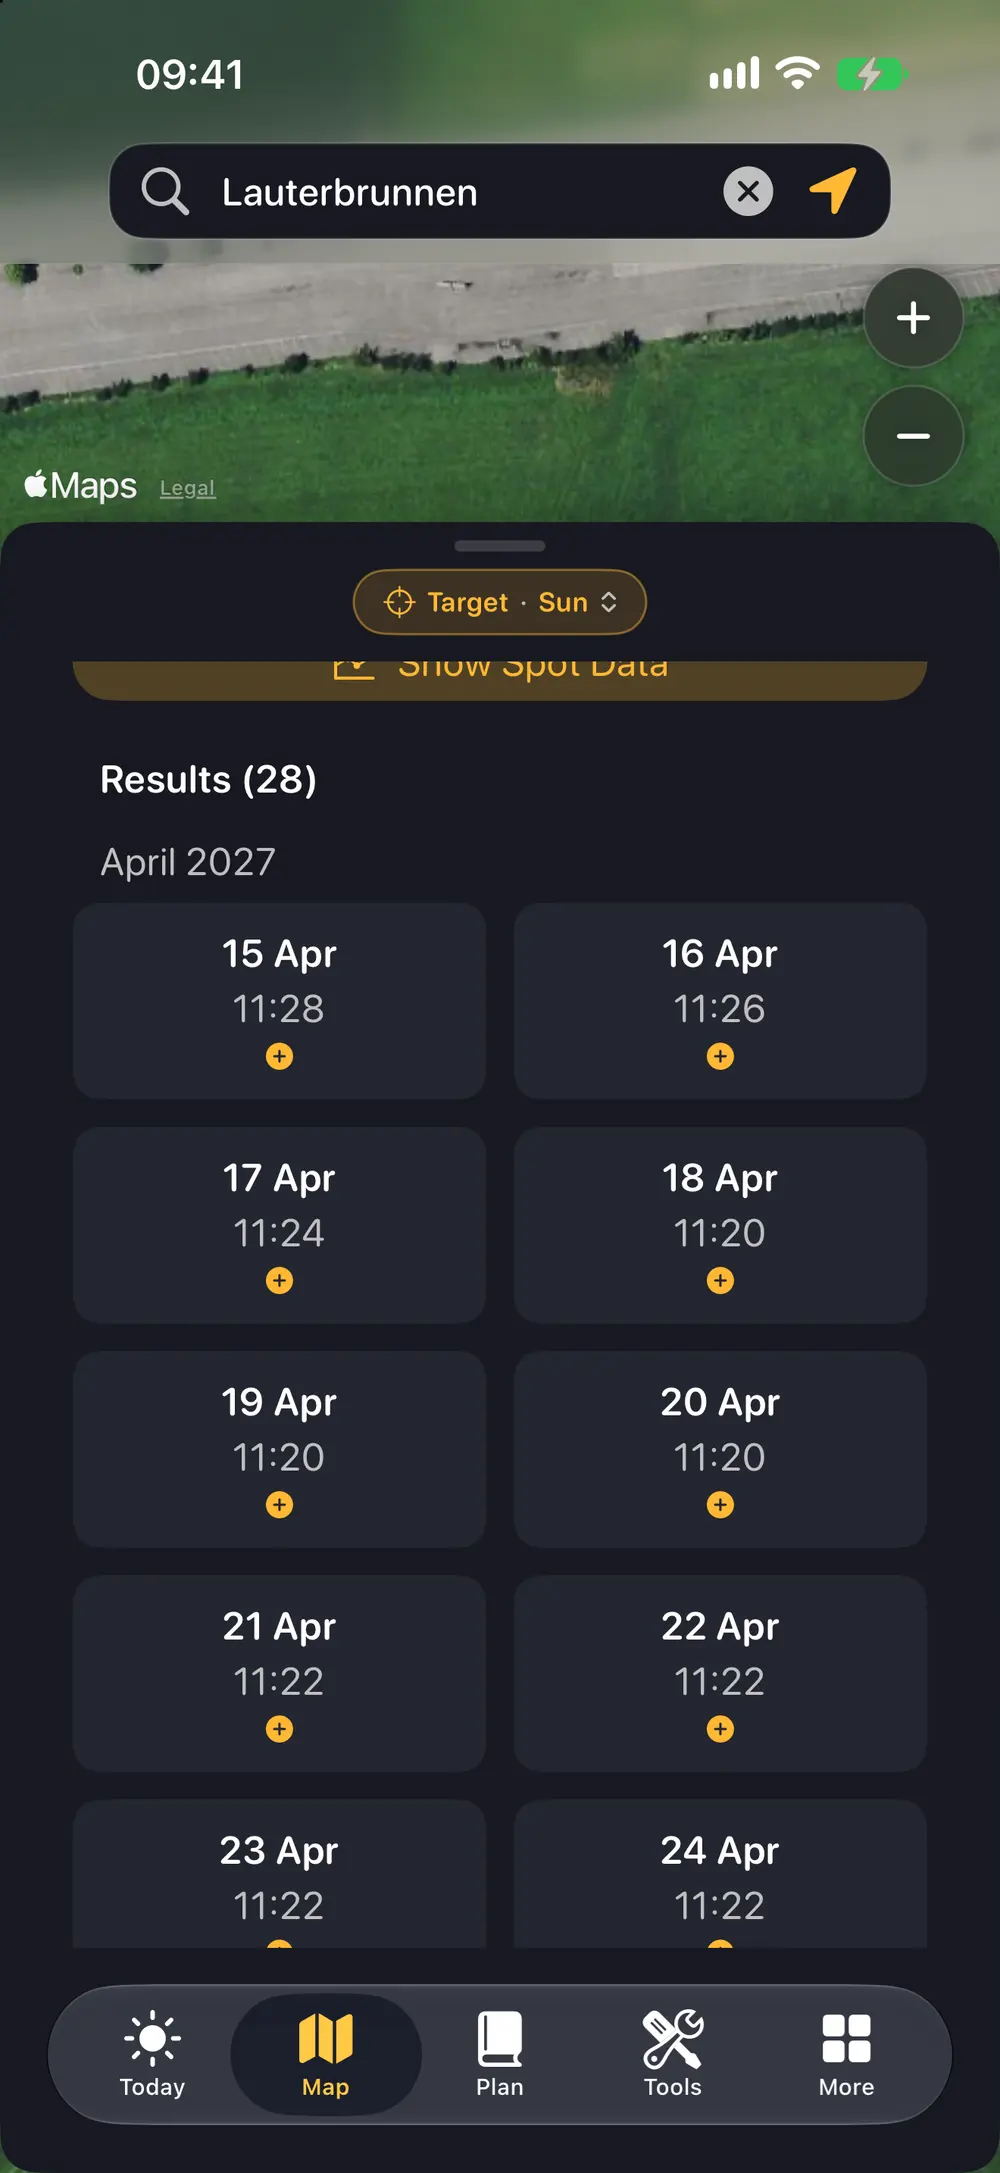
Set an azimuth and an elevation for the sun, the moon or the galactic core at a given location, and you get back a list of dates and times when that alignment actually happens. This is how you plan a sun behind a summit or a moon sitting in a gap, months ahead.
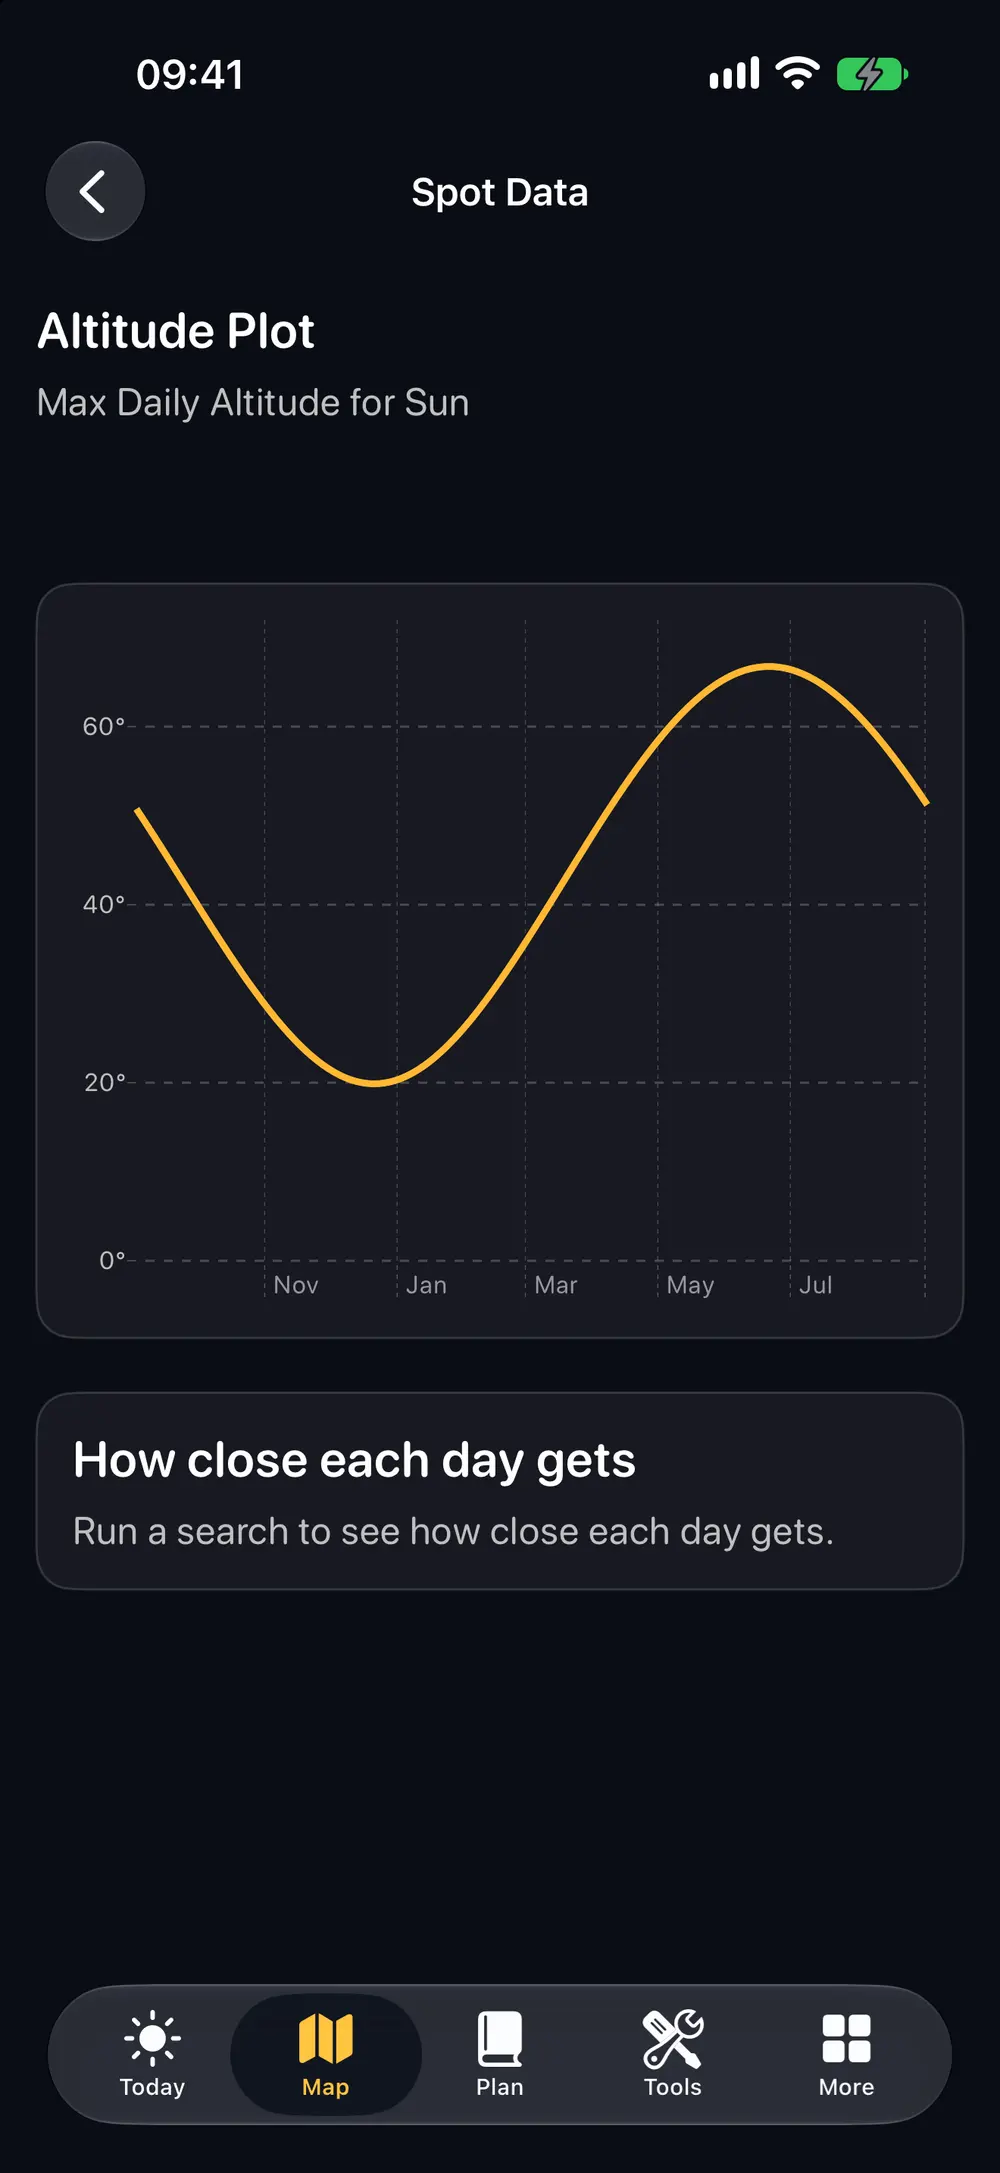
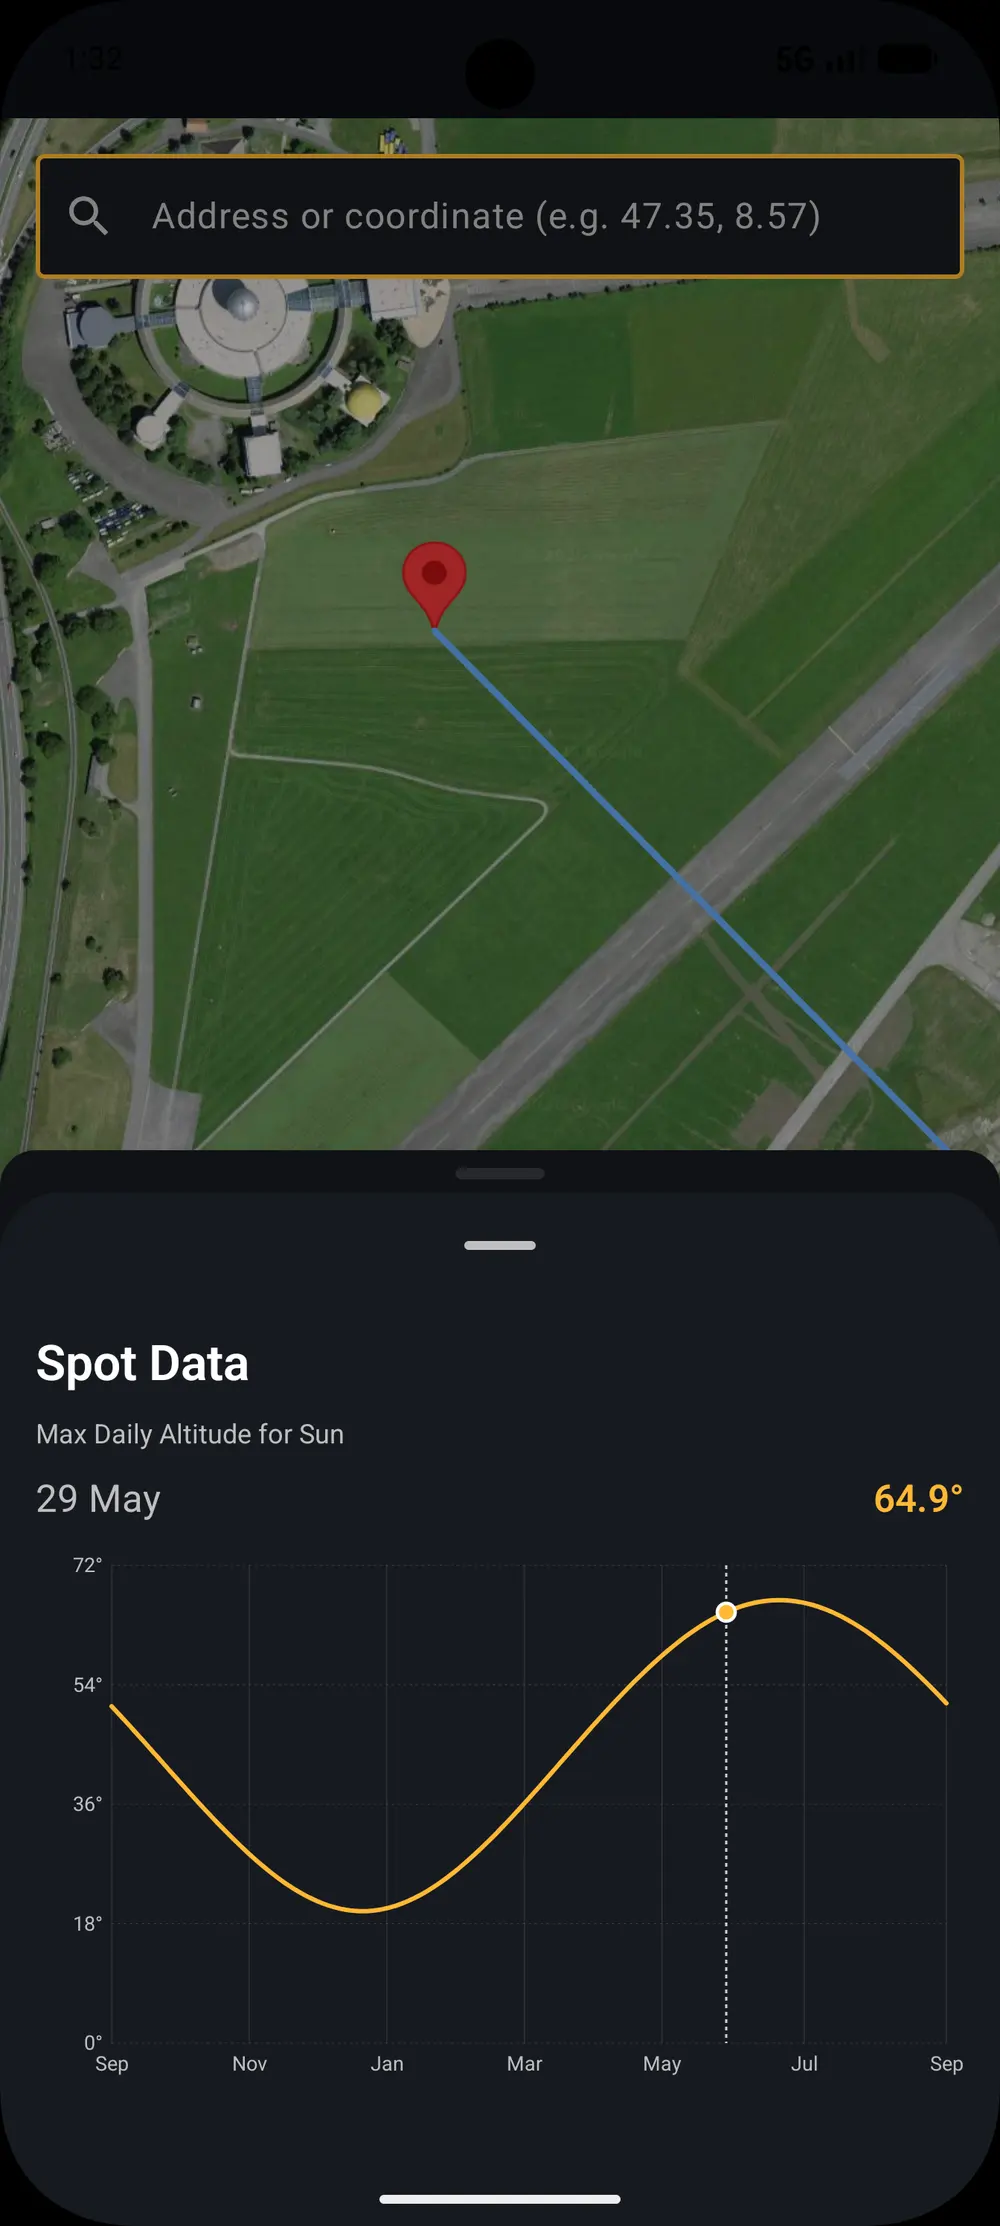
The twelve month altitude plot shows the shape of the whole year at that spot, so you can see immediately whether your idea is possible in June or only in December.
iOS
Android
Try it in the beta
iOS is in TestFlight now. Android is on the way.
Keep reading